
Auto Scaling
Auto-scaling automatically adjusts the number of VM instances in response to real-time demand, ensuring availability while minimizing costs.
Create an Auto-Scaling Group
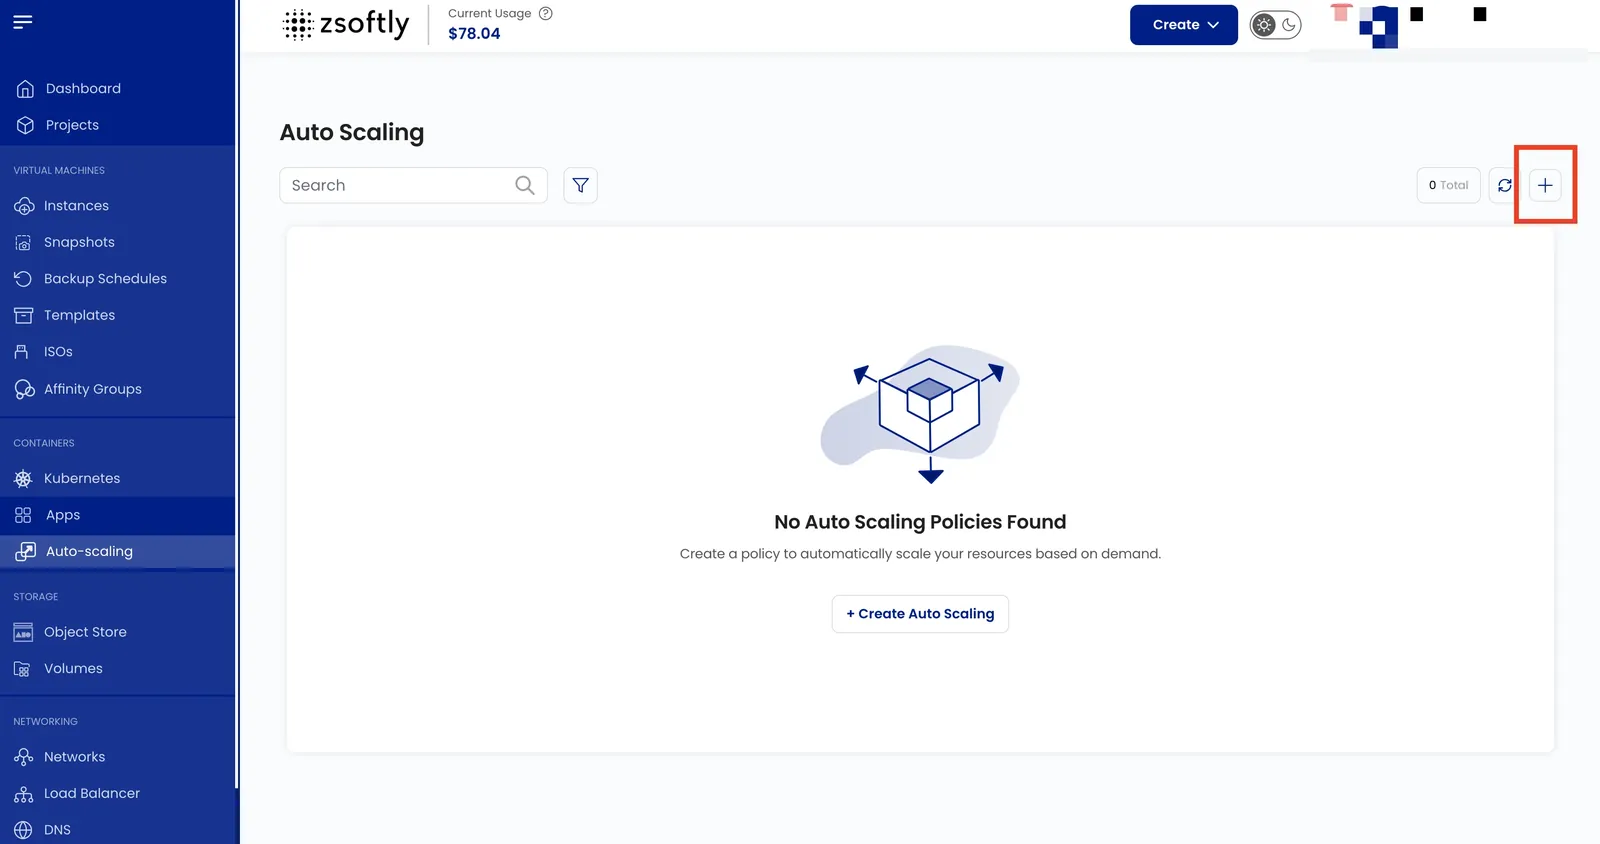
Section titled “Create an Auto-Scaling Group”- From the left-hand menu, click Auto-Scaling.
- Click Create New.
- Project: select the project.
- Location: select the data center.
- Network: select or create a network.
- Load Balancer: select an existing load balancer.
- Rule: select a load-balancing rule with no instances attached.
- Image: select the OS (Linux or Windows) and version.
- Storage Type: select the storage type (for example,
b2.g1orb2.g2). - VM Autoscale Plan: select an autoscale plan.
- Plan: select a compute plan, or set a custom plan (CPU, memory, storage).
- Server Settings: add an SSH key and a startup script (both optional).
- Affinity Groups: add the instances to an affinity group (optional).
- Capacity Planner: set Minimum Instances, Maximum Instances, Expunge VM Grace Period (seconds), and Polling Interval (seconds).
- Scale Up Policy: add at least one. Set a Name, Duration (seconds), and Quiet Time (seconds).
- Scale Down Policy: add at least one. Set a Name, Duration (seconds), and Quiet Time (seconds).
- Name: enter a unique name.
- Create: select a billing cycle and click Create.