Profile Setup
Setup User Profile in ZSoftly Public Cloud
Section titled “Setup User Profile in ZSoftly Public Cloud”The ZSoftly Public Cloud user profile setup feature lets you manage your personal information, configure payment settings, customize preferences, and monitor your account activity.
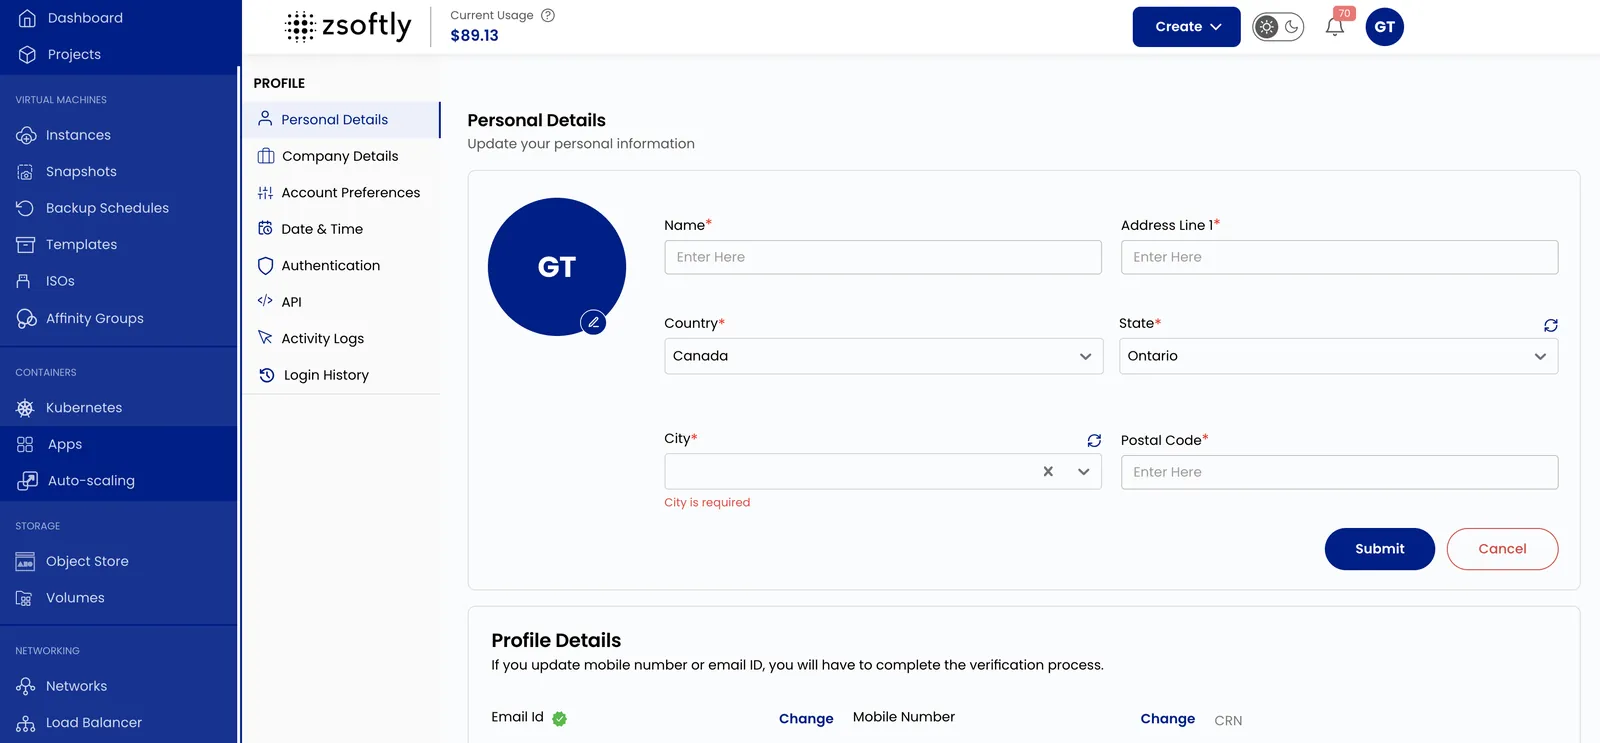
Update Your Personal Information
Section titled “Update Your Personal Information”Keep your personal details up-to-date to ensure that your profile reflects accurate information.
- Click your username (top-right) to open the Profile menu.
- Select Personal Details to update your personal information.
- Click on Submit to save changes.
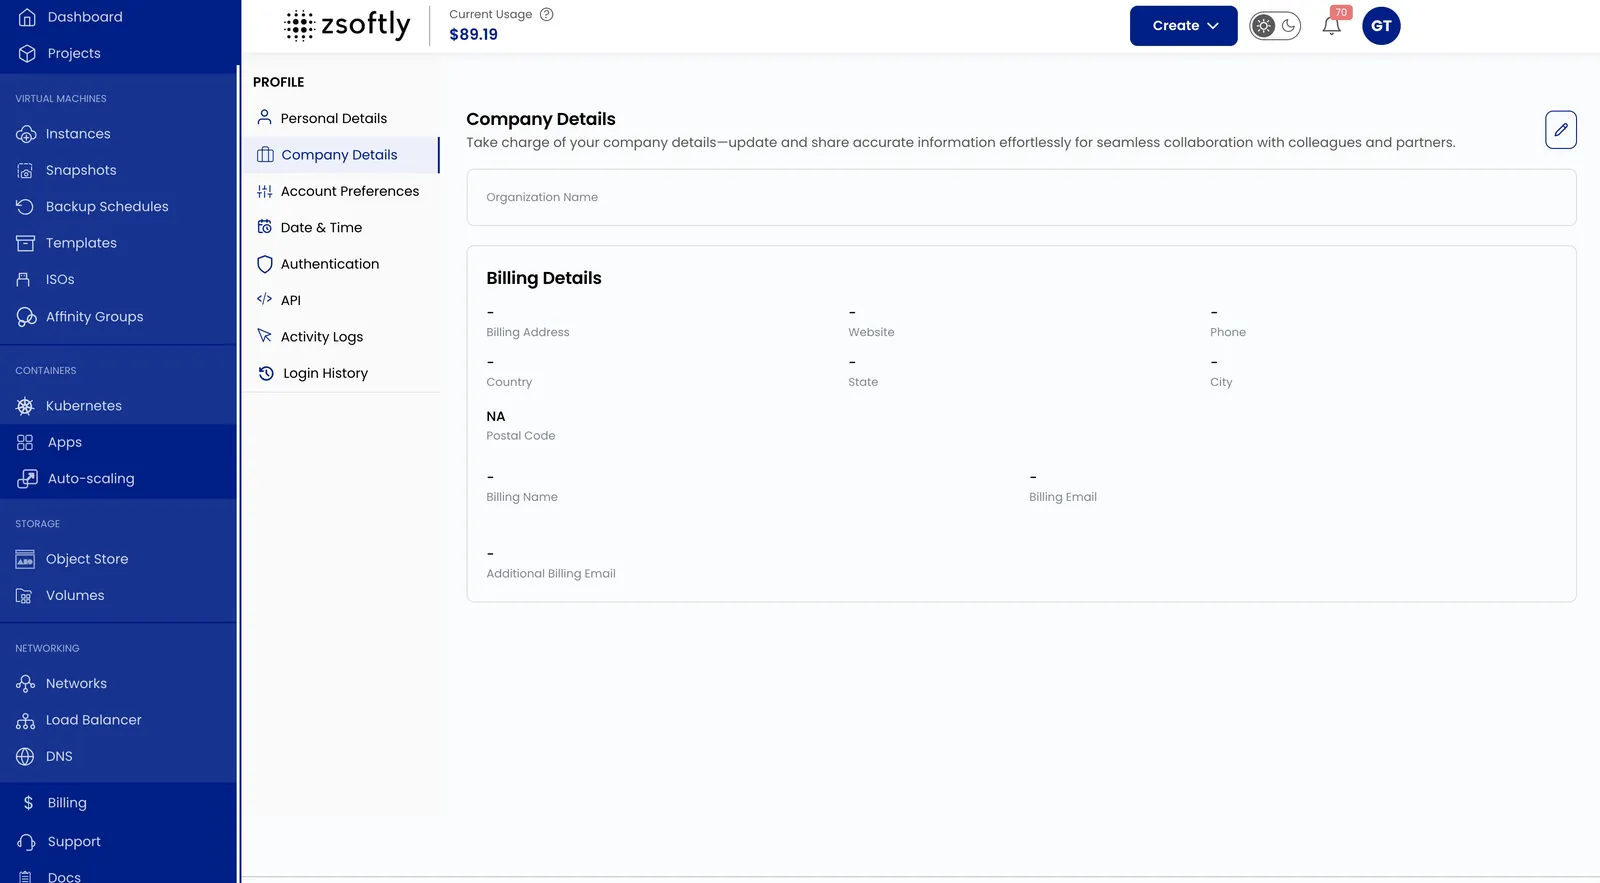
Manage Billing Information
Section titled “Manage Billing Information”- Click your username (top-right) to open the Profile menu.
- Select Company Details and go to Billing Details.
- Add or update the Billing Address and Phone Number.
- Click on Submit to save changes.
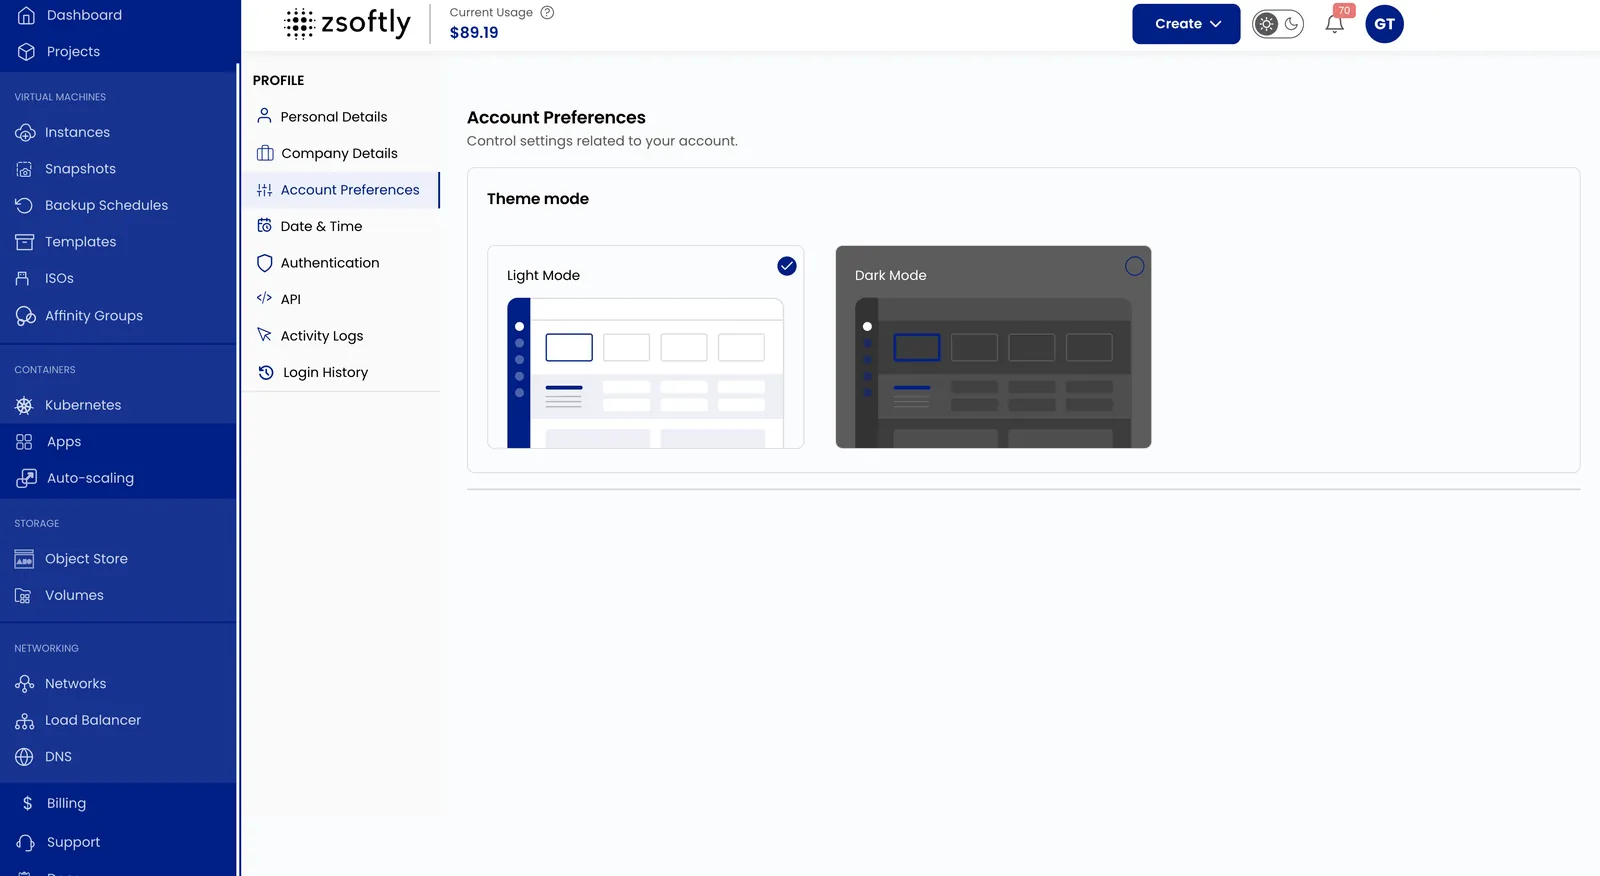
Customize Account Preferences
Section titled “Customize Account Preferences”- Click your username (top-right) to open the Profile menu.
- Select Account Preferences.
- Choose between Light Mode and Dark Mode.
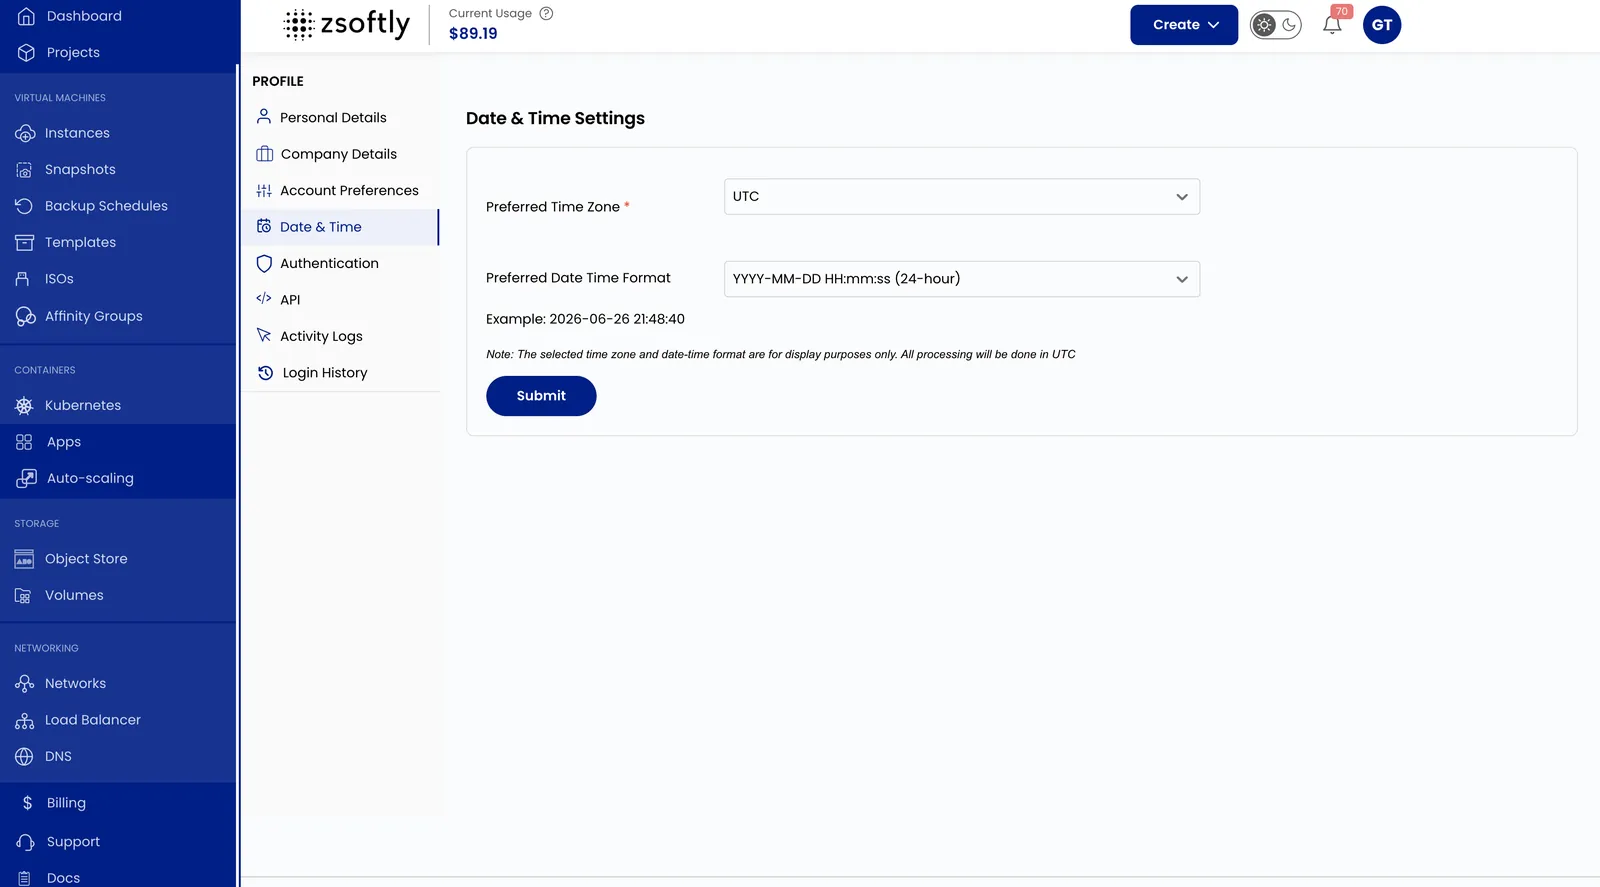
Change Date and Time Settings
Section titled “Change Date and Time Settings”- Click your username (top-right) to open the Profile menu.
- Select Date & Time.
- Choose your Preferred Time Zone and Date Time Format.
- Click Submit to apply the changes.
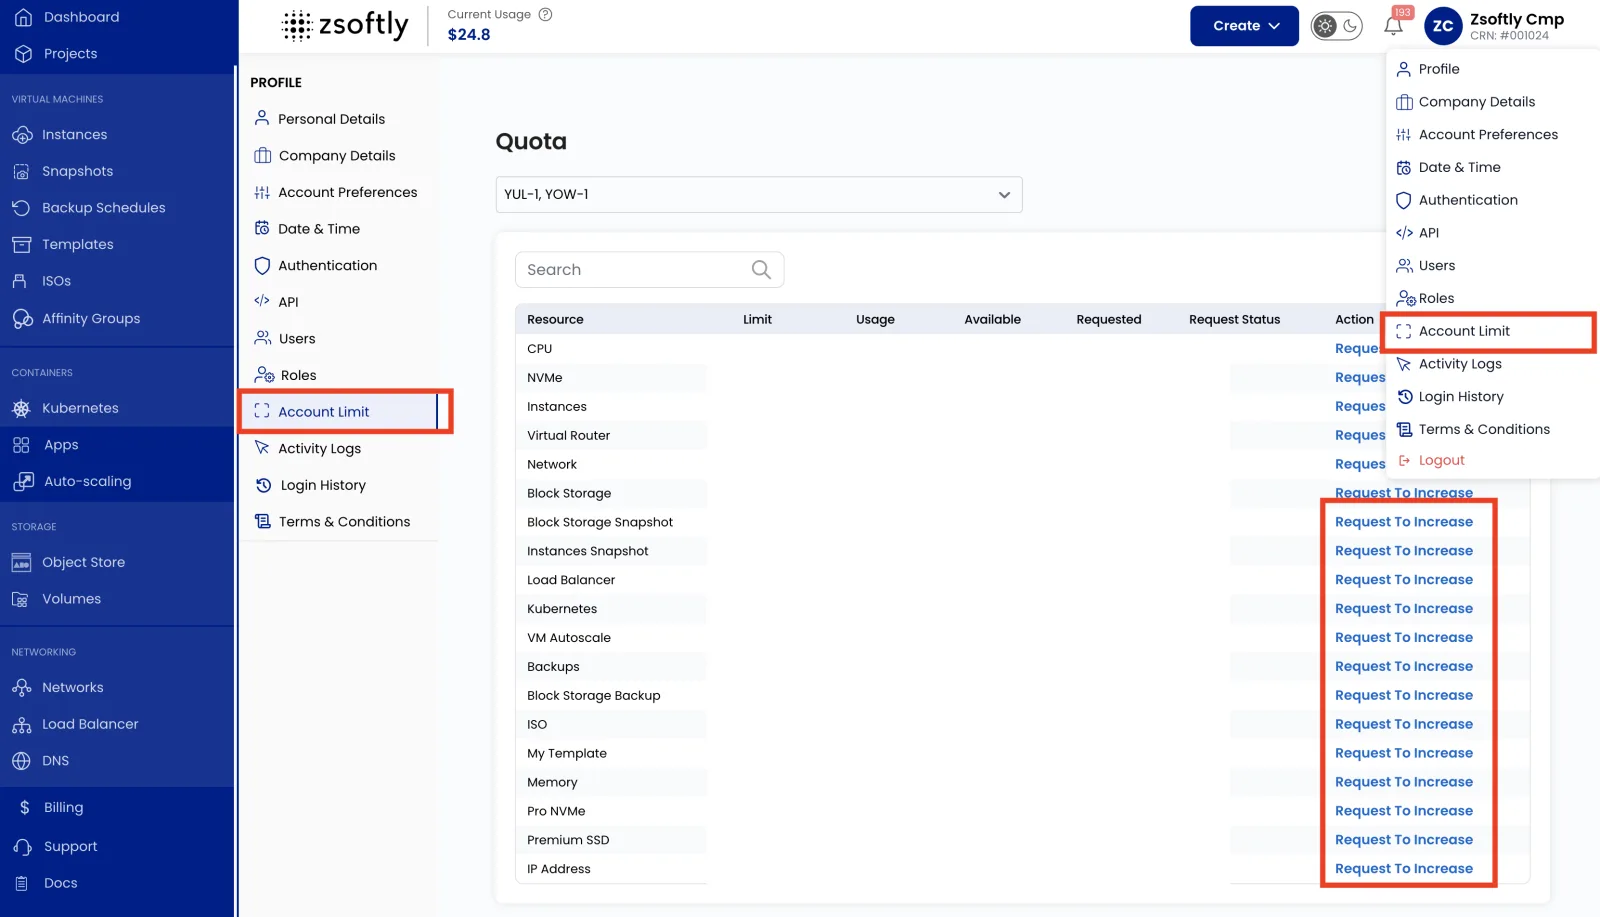
Set Account Limits
Section titled “Set Account Limits”- Click your username (top-right) to open the Profile menu.
- Select Account Limit to view the resource allocation table.
- Click Request To Increase to submit a request for additional resources.
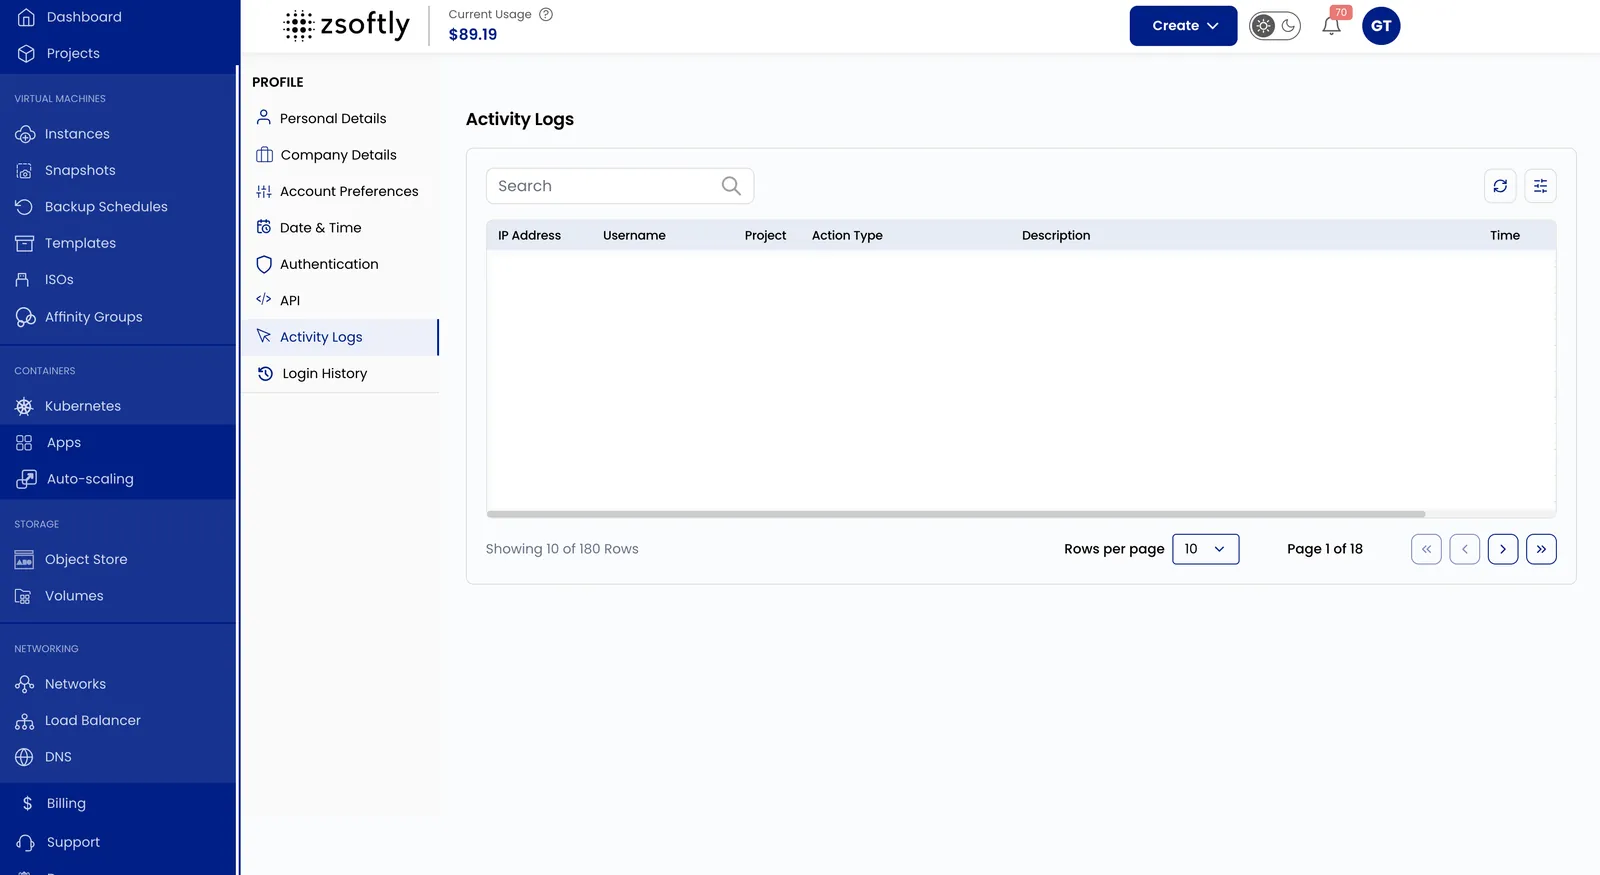
Track Activity Logs
Section titled “Track Activity Logs”- Click your username (top-right) to open the Profile menu.
- Select Activity Logs to monitor system actions and changes.
- Use the search bar to filter logs based on keywords.
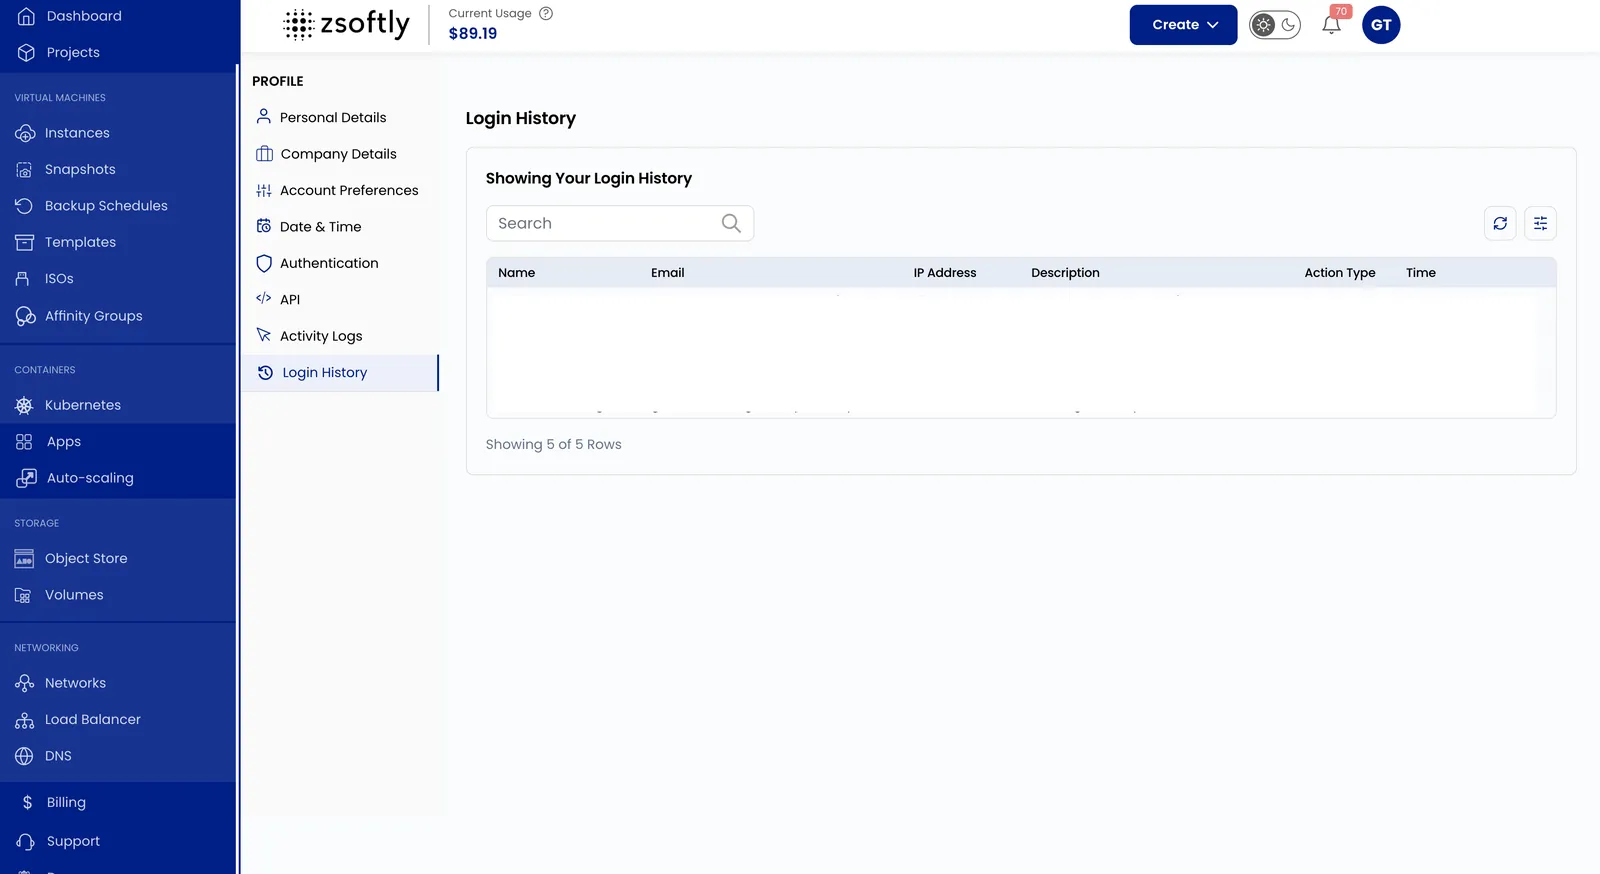
Review Login History
Section titled “Review Login History”- Click your username (top-right) to open the Profile menu.
- Select Login History to view login records.
Conclusion
Section titled “Conclusion”Manage your ZSoftly Public Cloud profile to enhance security settings and customize your account to meet your needs.