Account Signup
ZSoftly Public Cloud Account Setup Guide
Section titled “ZSoftly Public Cloud Account Setup Guide”This guide provides a step-by-step tutorial to help you create a ZSoftly Public Cloud account, set up billing, and verify your account.
Account and Project Structure
Section titled “Account and Project Structure”One email address, one account. Each email address maps to exactly one ZCP account. You cannot register a second account with an address already in use.
Use Projects for environment isolation. Most teams need one account. Create separate
Projects inside it for dev, stg, and prd. Each Project gets its own resources, quotas, and
team membership. Resources in different Projects do not share networks or storage. See
Projects for details.
Use separate accounts for hard isolation. Some organizations need a complete boundary between environments or business units: separate billing, separate IAM, and no shared resources. Create one account per boundary. Because each account requires a unique email address, use plus-addressing if your mail provider supports it:
| Account | |
|---|---|
| Account 1 | company+1@example.com |
| Account 2 | company+2@example.com |
| Account 3 | company+3@example.com |
All three addresses deliver to the same inbox. Each maps to a fully independent ZCP account with its own billing and IAM.
Register Account
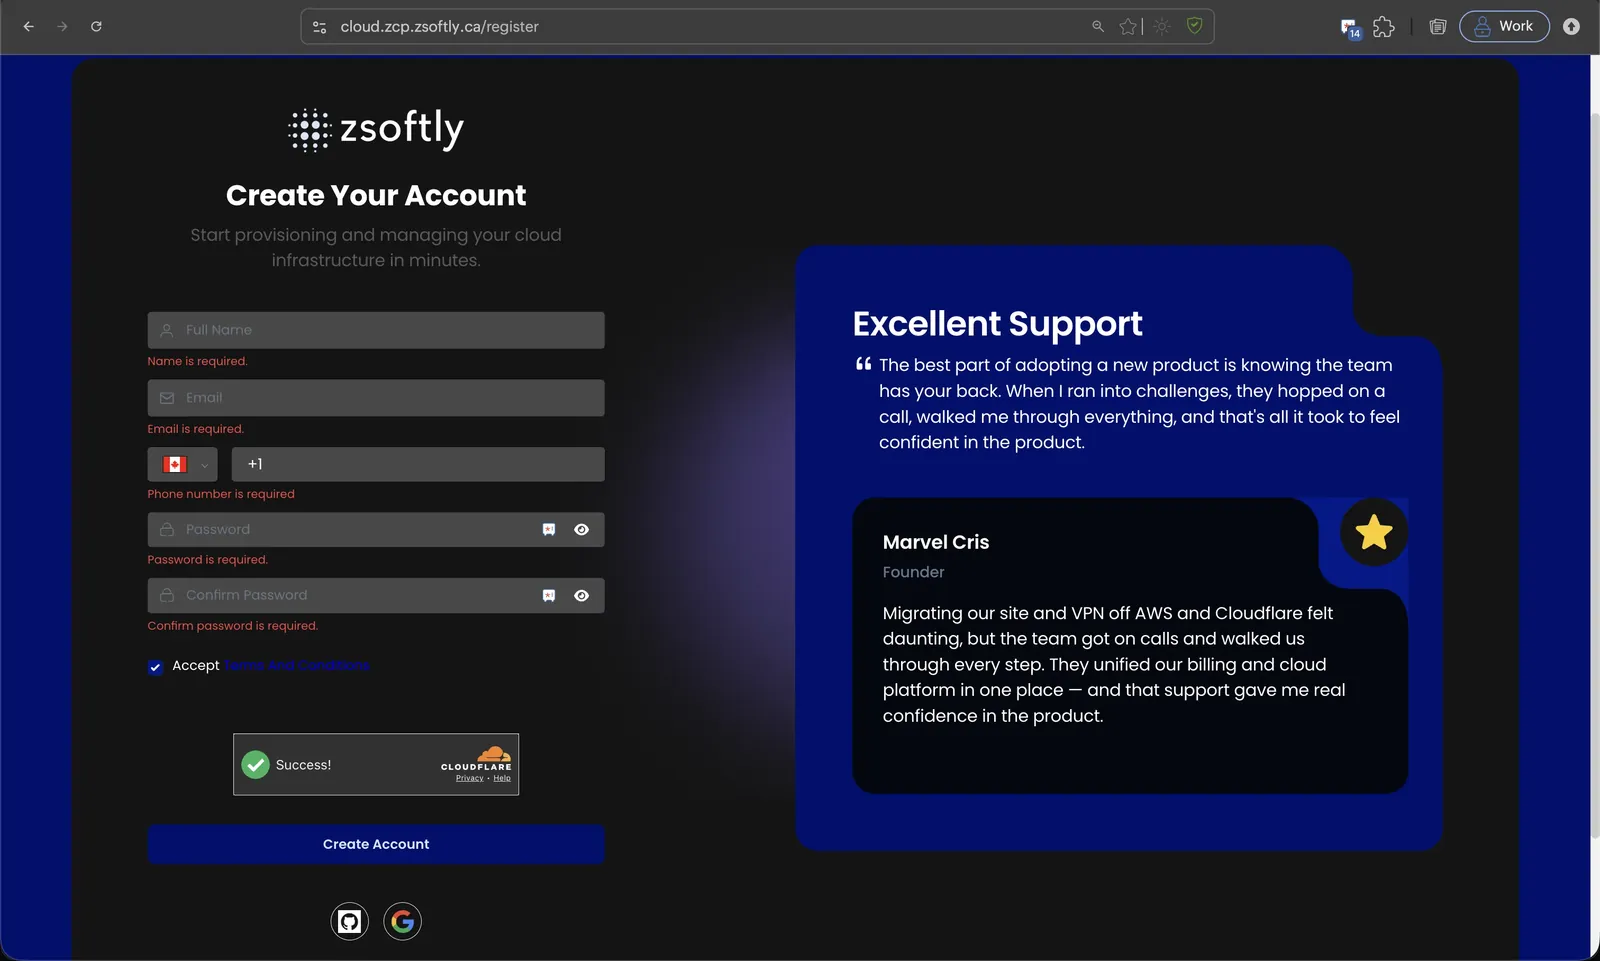
Section titled “Register Account”- Go to the registration page at cloud.zcp.zsoftly.ca/register.
- Enter your name, email address, phone number, and a password, then accept the Terms and Conditions. You can also sign up with GitHub or Google.
- Click Create Account to proceed to the next step.
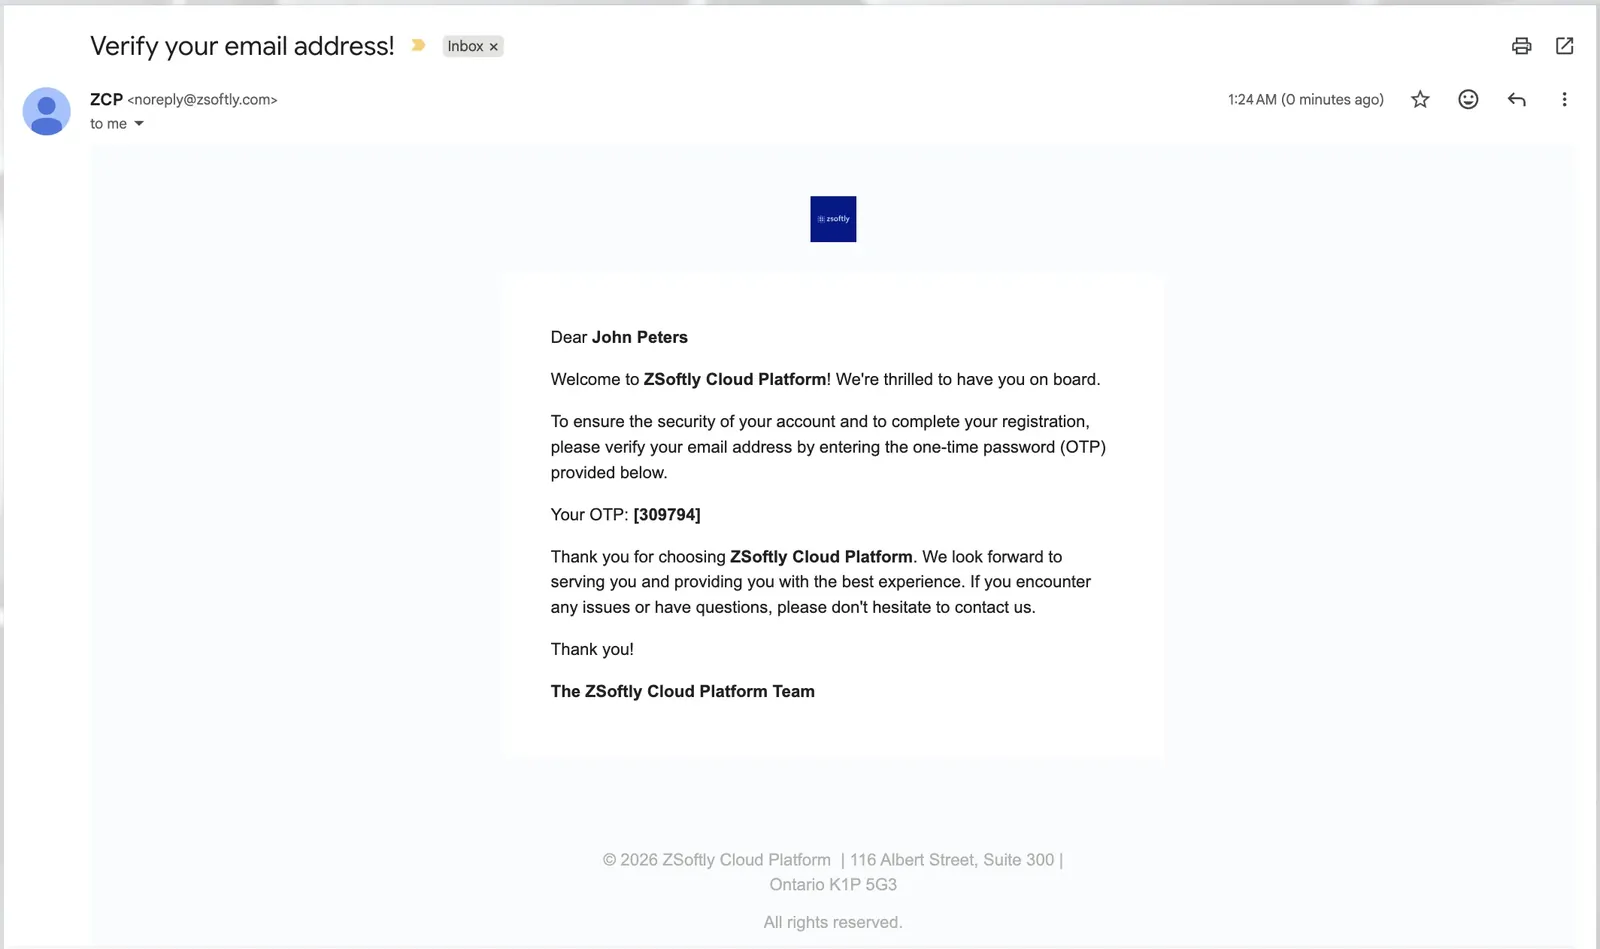
Verify Your Email
Section titled “Verify Your Email”- Check your email inbox for a verification email from ZSoftly Public Cloud containing a One-Time Password (OTP).
- Enter the OTP in the provided field on the website.
- Click Verify to confirm and proceed to the billing setup.
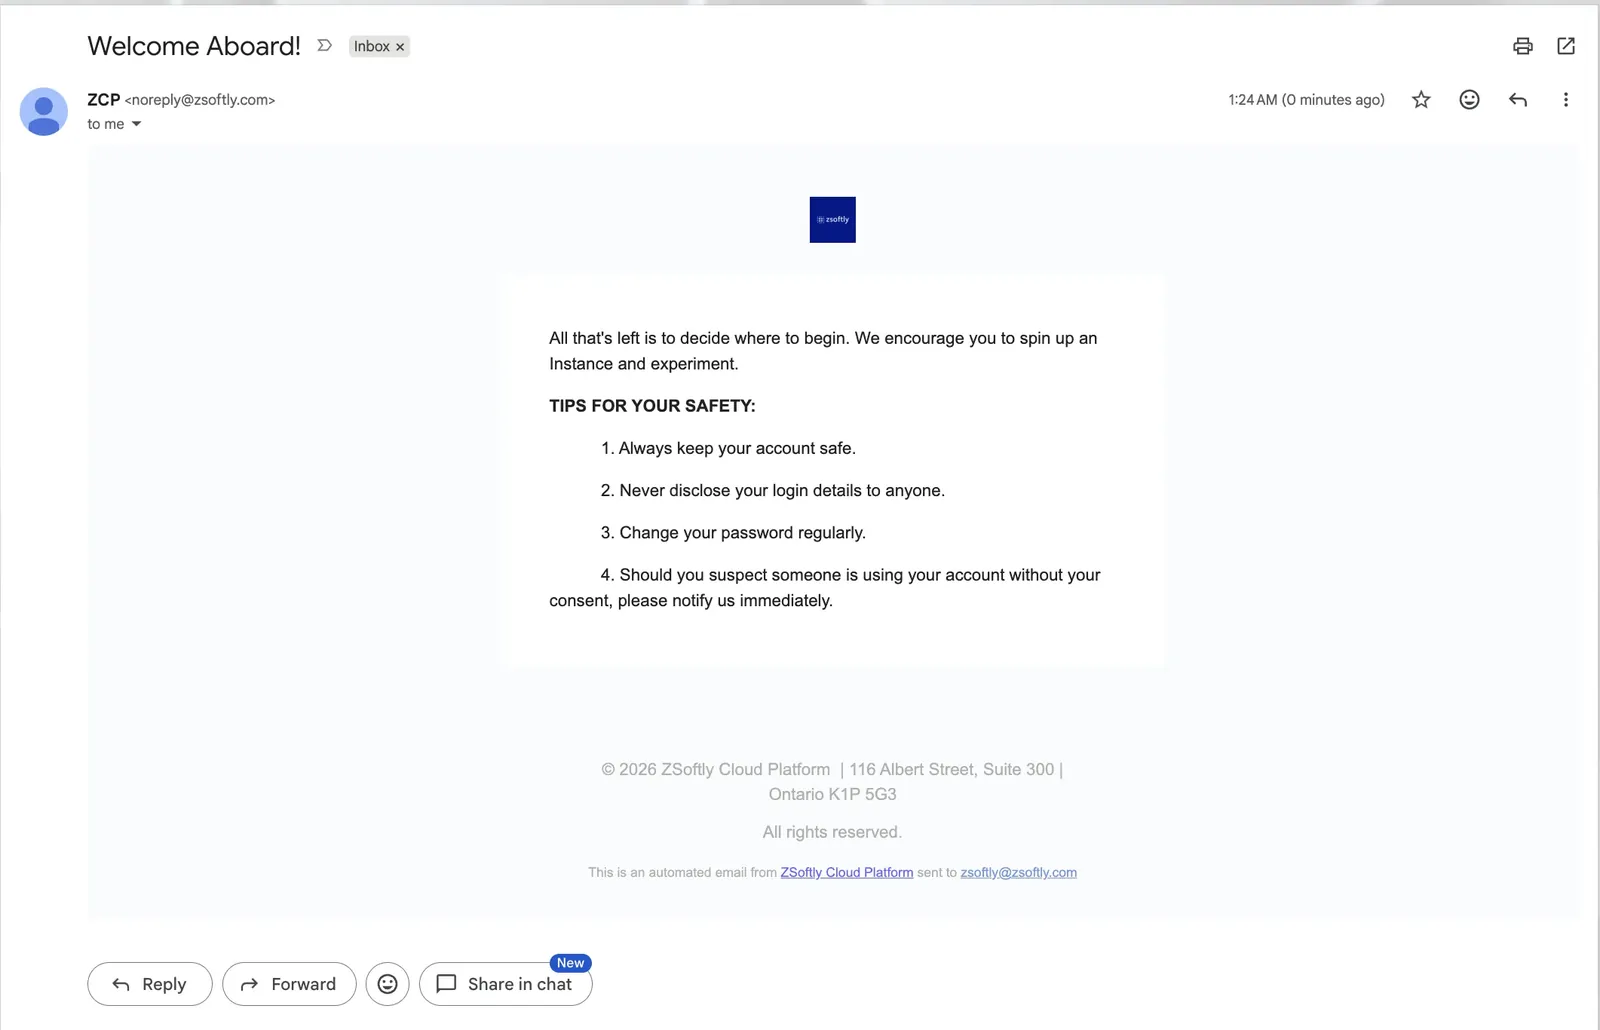
Once verified, ZSoftly Public Cloud sends a welcome email confirming your account is ready.
Set Up Billing Method
Section titled “Set Up Billing Method”-
After verifying your account, you’ll be prompted to set up your billing information.
-
Choose a billing type:
- Individual: For personal use. Enter details like your address.
- Company: For organizational use. Provide details such as your company name, website, and address.
-
If you have a coupon, redeem it at checkout to receive a discount or promotional offer.
Account Credit
Section titled “Account Credit”New accounts receive CA$100 in credit automatically at sign-up, valid for 30 days.
After you spend CA$200 on the platform, you can claim an extra CA$200 in credit: request it from your account email address through our contact page, including your account number and referencing “$200 Credit Request”. We’ll apply the CA$200 credit to your account directly, valid for 60 days, for up to CA$300 total.
The credit applies to Small through XLarge plans. The offer is available until December 31, 2026.
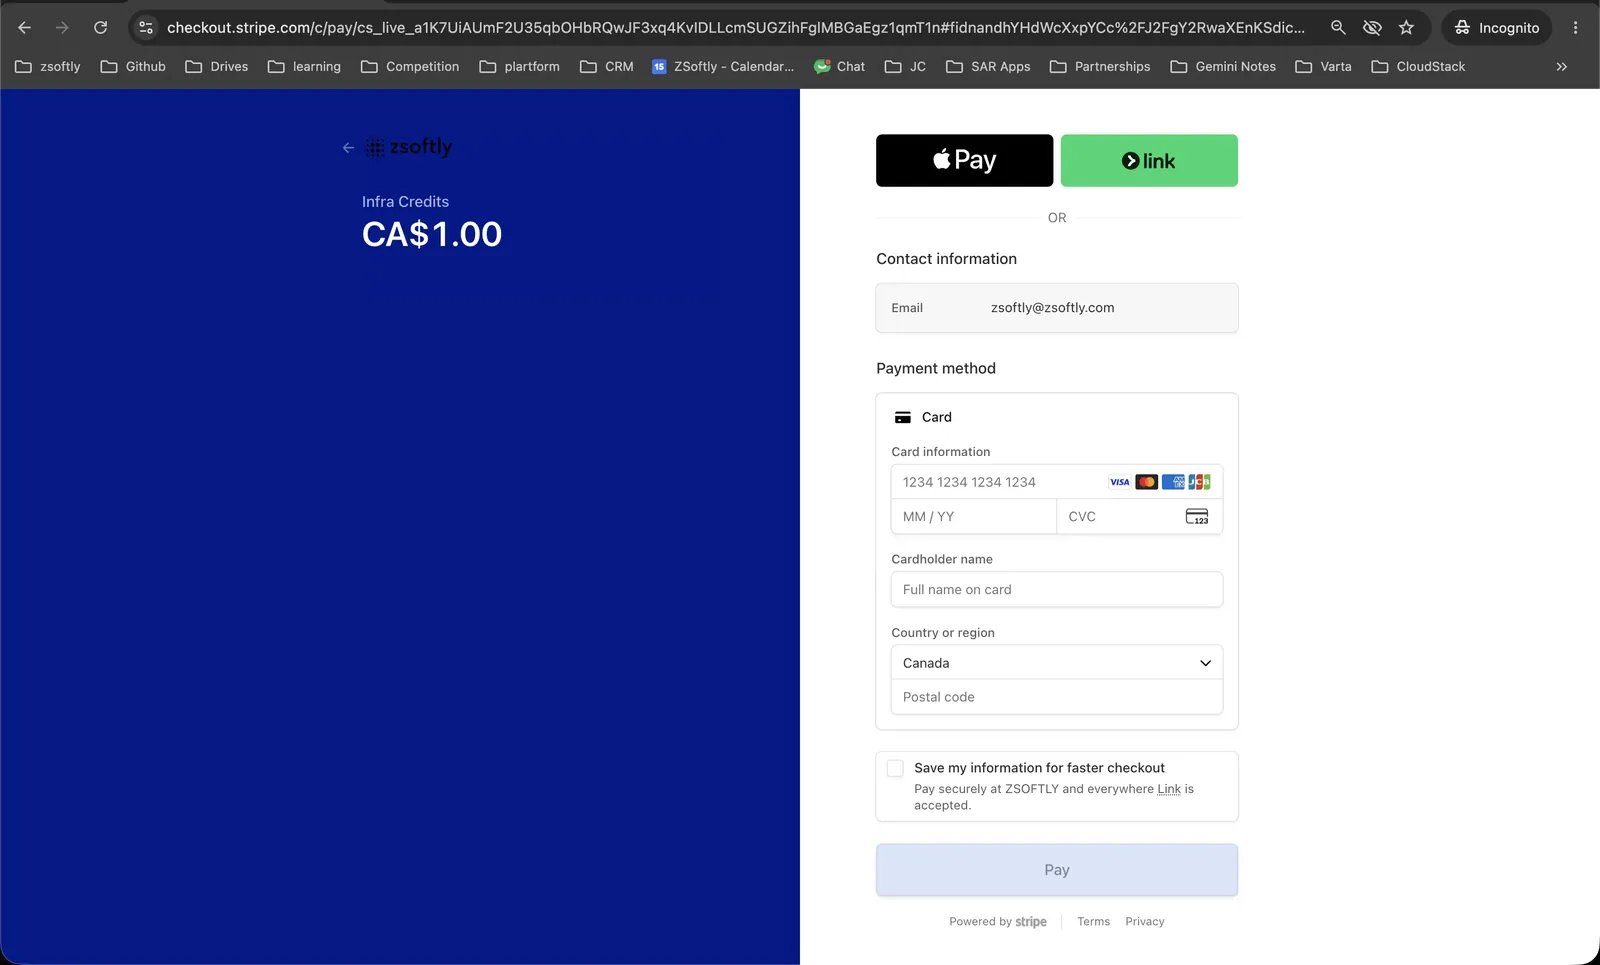
Payment Methods
Section titled “Payment Methods”ZSoftly Public Cloud accepts:
- Card: Visa, Mastercard, and American Express, processed securely through Stripe.
- PayPal: pay from your PayPal balance or a linked account.
- Bank Transfer / Wire: for manual payments, contact our Sales team and they will arrange the transfer and apply the funds to your account as infra credit.
Card and PayPal are self-serve in the portal. Bank transfer and wire are arranged with Sales.
Choose a Payment Plan
Section titled “Choose a Payment Plan”Prepaid (Recommended):
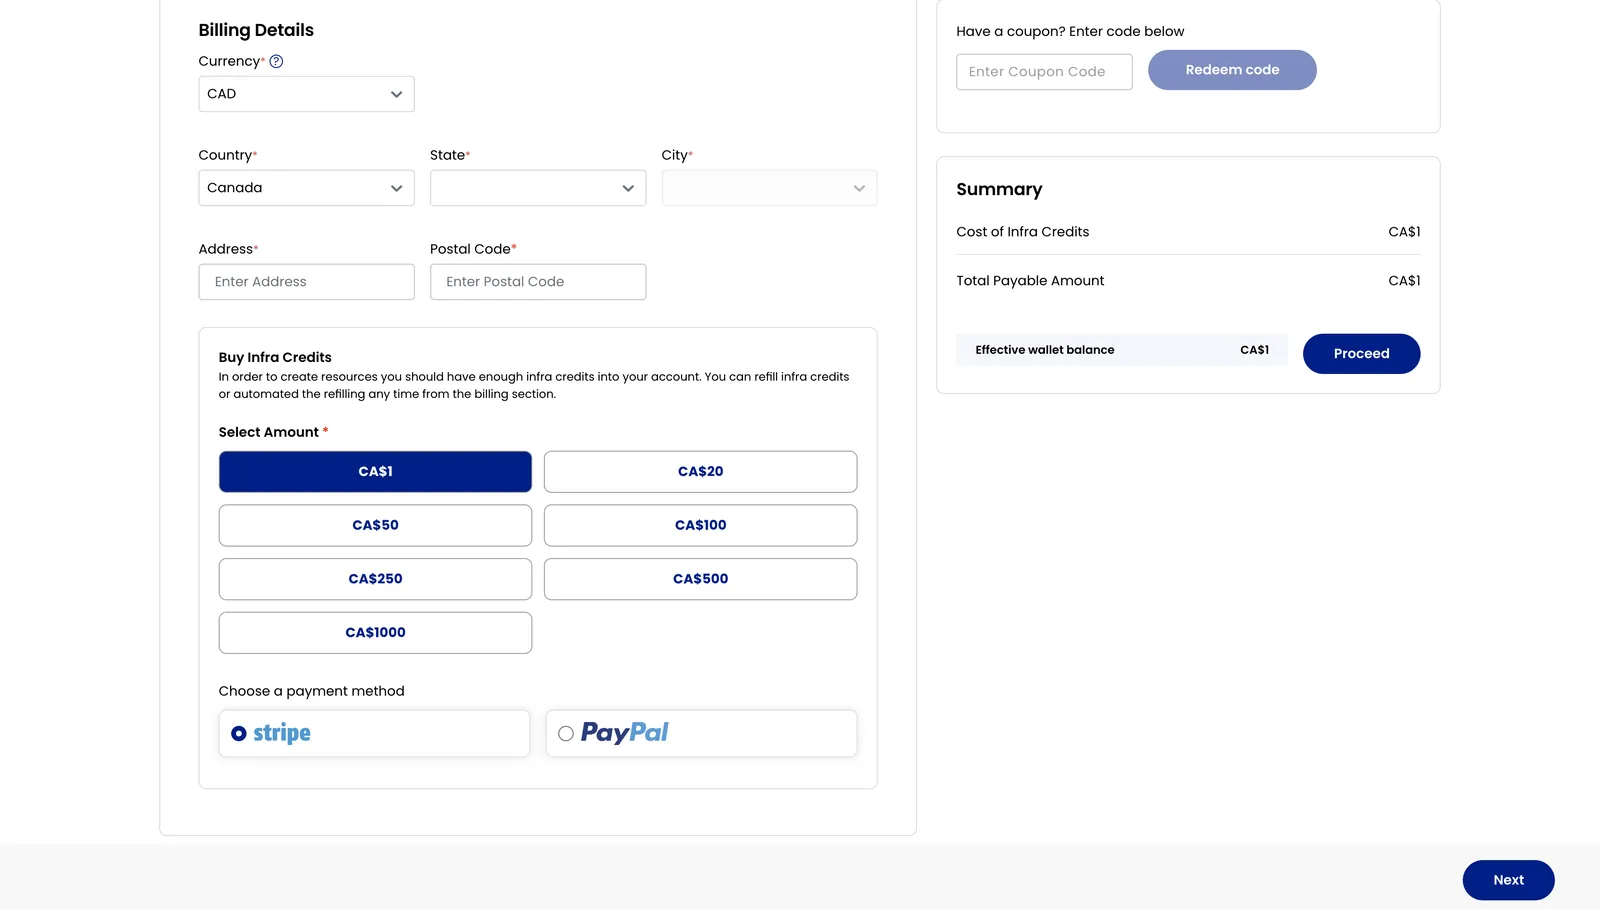
Section titled “Prepaid (Recommended):”- Prepaid accounts require you to load credits in advance, which you’ll use to create resources within the platform.
- To use resources, purchase infrastructure credits by selecting the desired amount.
- Pay with Stripe or PayPal and click Proceed to complete the payment, or contact Sales to pay by bank transfer or wire.
Postpaid:
Section titled “Postpaid:”- Postpaid accounts allow you to pay after consuming resources. This option requires additional verification, such as detailed billing information or credit checks.
- Add Stripe or PayPal as your payment method and click Save Card to complete setup, or contact Sales to arrange manual payment by bank transfer or wire.
Final Steps
Section titled “Final Steps”-
Review the Terms & Conditions of the platform carefully.
-
Accept the terms to complete the registration process.
-
Prepaid Users: Your account status will display as active, with the account type set to prepaid.
-
Postpaid Users: After verification, your account will display as active with the account type set to postpaid.
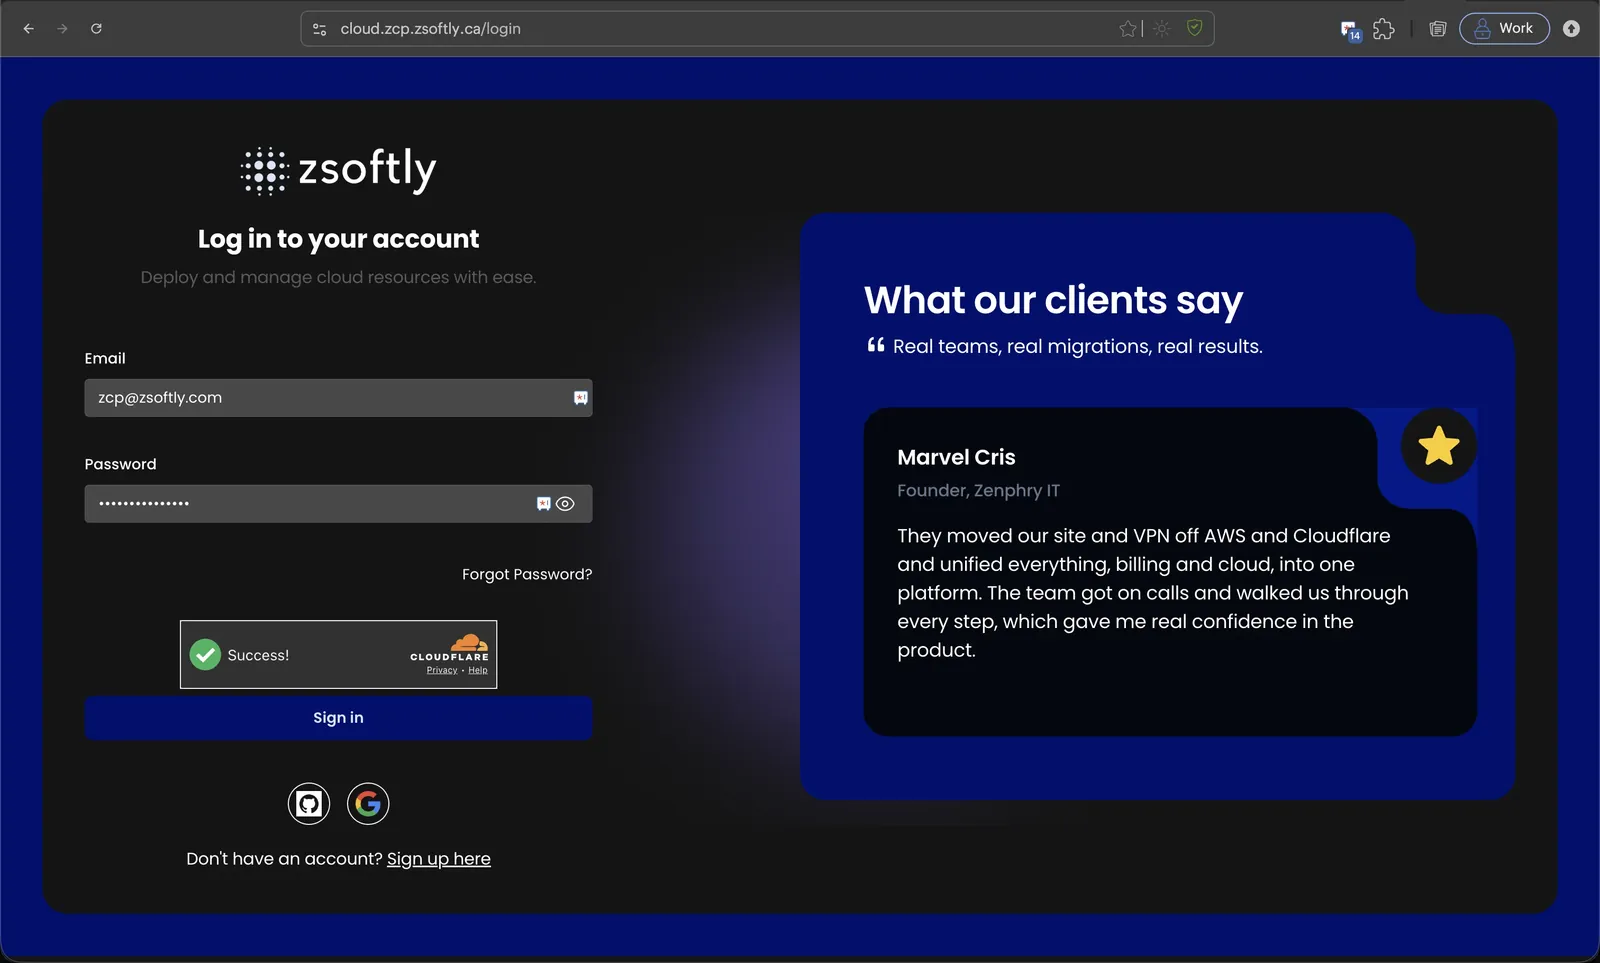
Sign in to the portal
Section titled “Sign in to the portal”Once your account is active, sign in at cloud.zcp.zsoftly.ca/login. Enter your email and password (or use GitHub or Google), pass the verification challenge, and click Sign in.
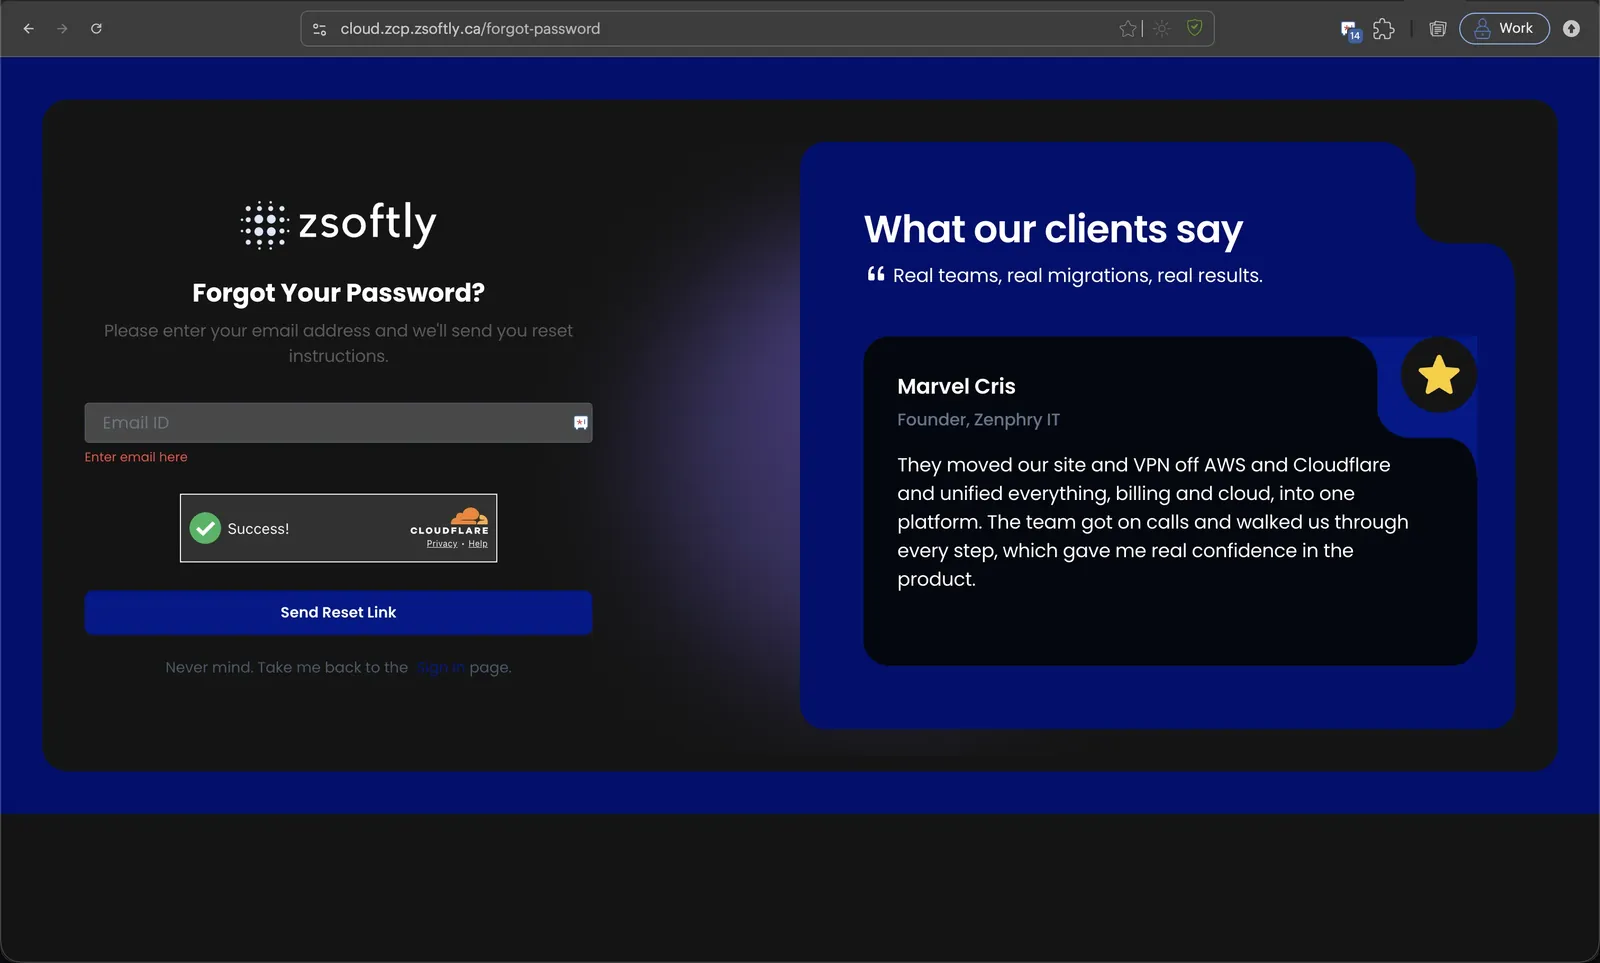
Reset your password
Section titled “Reset your password”If you forget your password, click Forgot Password? on the sign-in page (or go to cloud.zcp.zsoftly.ca/forgot-password). Enter your account email and click Send Reset Link. You’ll receive reset instructions by email.
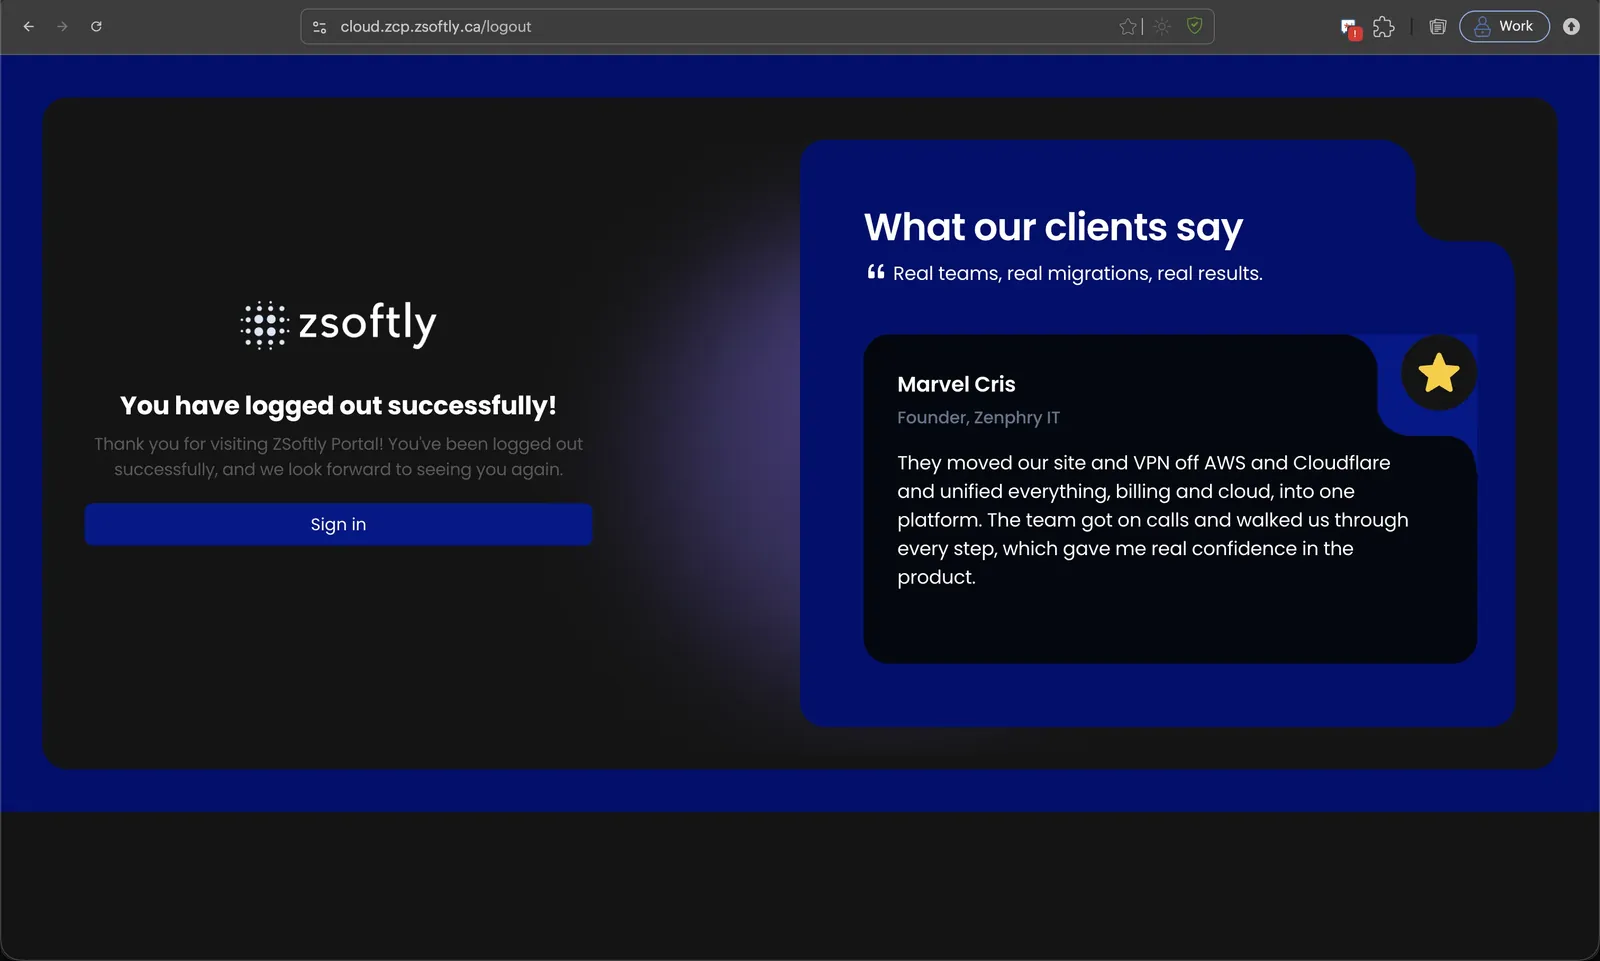
Sign out
Section titled “Sign out”To end your session, use the account menu and select sign out. The portal confirms you have logged out, and you can sign back in anytime.
Setting up your ZSoftly Public Cloud account is a straightforward process. Register, verify your email, configure billing, and choose a payment plan that best suits your needs. Once completed, you’ll have full access to the ZSoftly Public Cloud dashboard and its features, enabling you to manage your resources efficiently.