
Load Balancer
A Load Balancer distributes incoming traffic across multiple servers to ensure high availability, reliability, and improved performance.
Create a Load Balancer
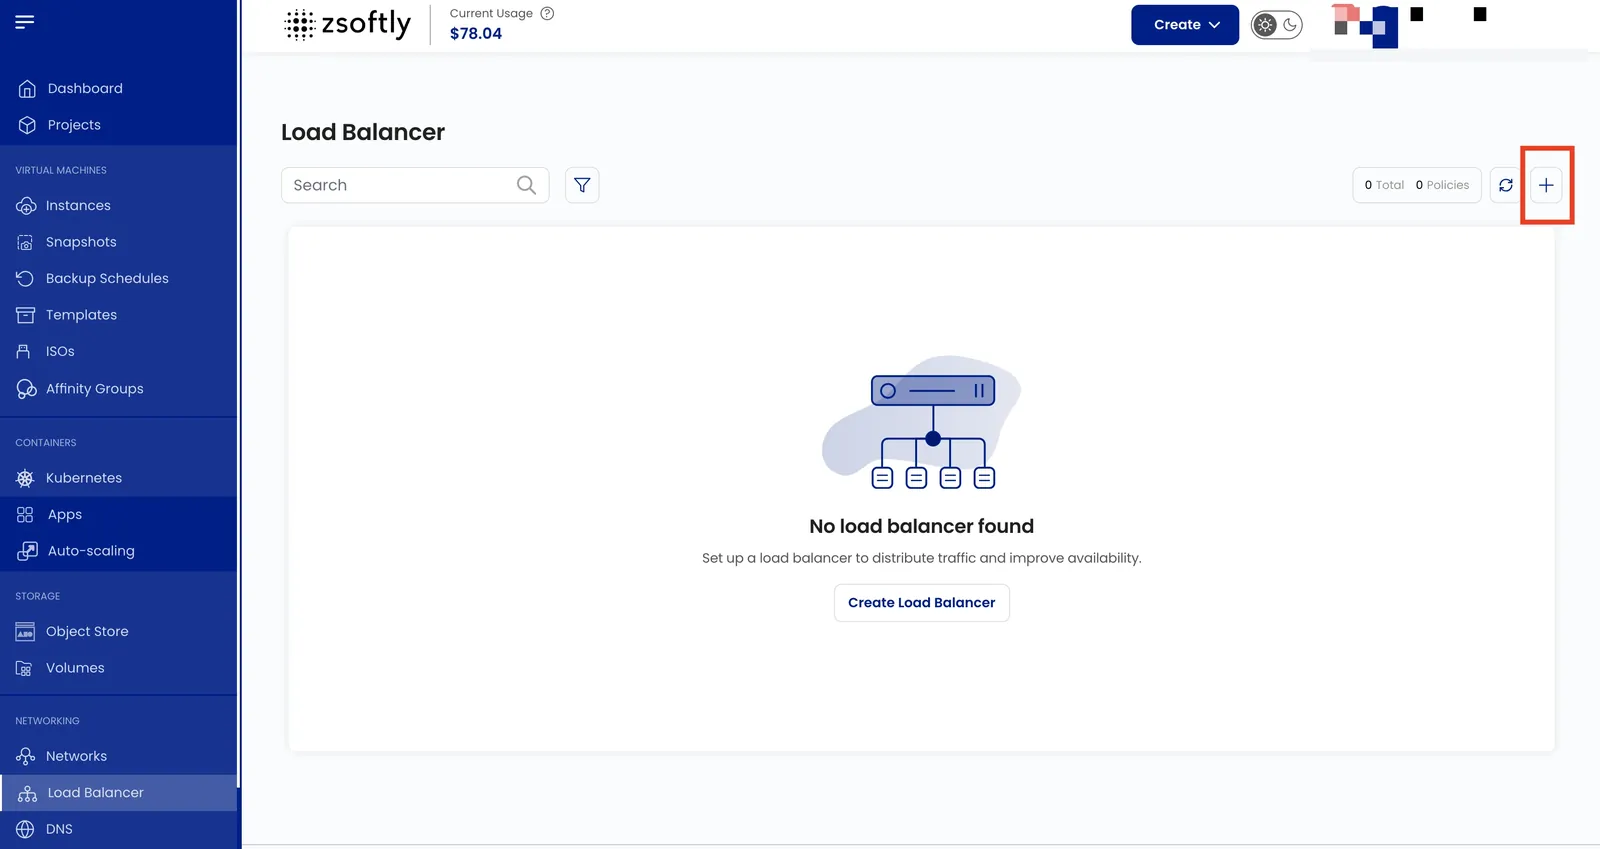
Section titled “Create a Load Balancer”- From the left-hand menu, click Load Balancer.
- Click the + icon.
- Project: assign to a project.
- Location: select the data center.
- Network: select the network where the load balancer will operate.
- IP: choose an Existing IP or Acquire New IP (creates a default isolated IP in the selected zone).
- Forwarding Rules:
- Rule Name, Protocol (TCP, UDP, HTTP, HTTPS), port range
- Algorithm: Source IP, Round Robin, or Least Connections
- Sticky Sessions: LB Cookie, App Cookie, Source-Based, or None
- Select VM instances to handle traffic
- Name: alphanumeric, dashes, and periods only.
- Create:
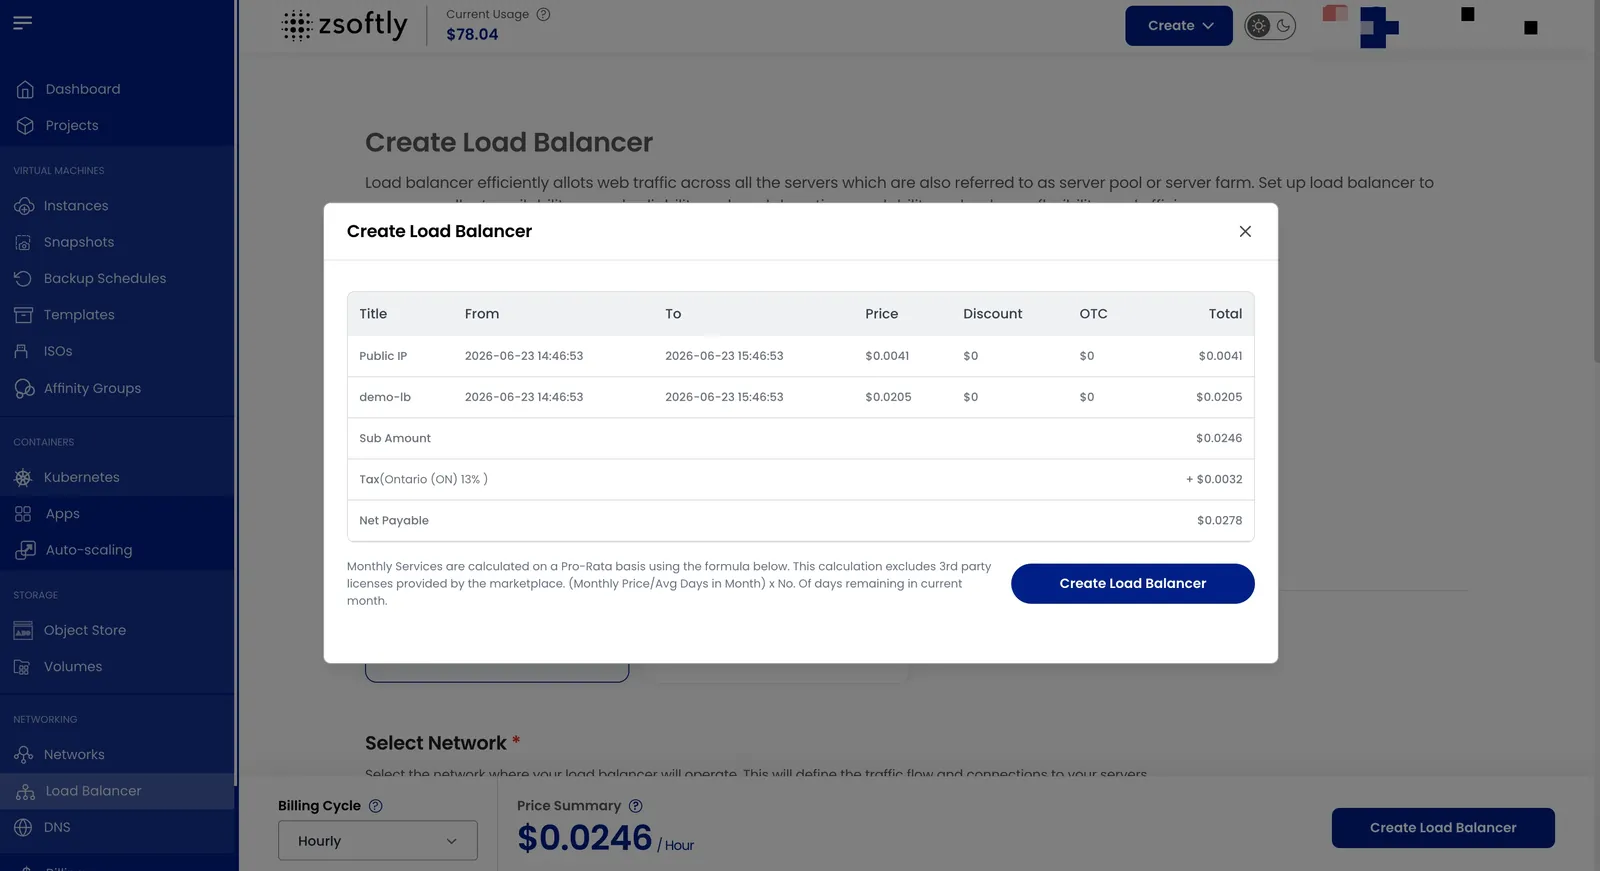
- Billing cycles: Hourly, Monthly, or Yearly.
- One package per zone
- Click Create Load Balancer
Attach Additional VMs
Section titled “Attach Additional VMs”You can select multiple VMs on the same network while creating the load balancer. To add more backend instances afterwards, open the Load Balancer and click Add New Policies.
Manage with Terraform
Section titled “Manage with Terraform”Provider v1.0.0 exposes data.zcp_load_balancer with its rule IDs, so an existing load balancer can
supply a rule to zcp_load_balancer_attachment:
data "zcp_load_balancer" "existing" {  slug = var.load_balancer_slug}
resource "zcp_load_balancer_attachment" "web" {  load_balancer   = data.zcp_load_balancer.existing.id  rule            = data.zcp_load_balancer.existing.rules[0].id  virtual_machine = zcp_instance.web.id  cloud_provider  = zcp_instance.web.cloud_provider  region          = zcp_instance.web.region}
The API rejects deletion of the only active zcp_load_balancer_rule on a load balancer. Keep at
least one rule when you manage rules independently.
See also: Public Networks, VPC