Create VPC
Create VPC Network
Section titled “Create VPC Network”A Virtual Private Cloud (VPC) network provides an isolated, secure environment for cloud resources. It allows you to control traffic routing, IP addressing, subnets, and security within a private network.
Create a VPC
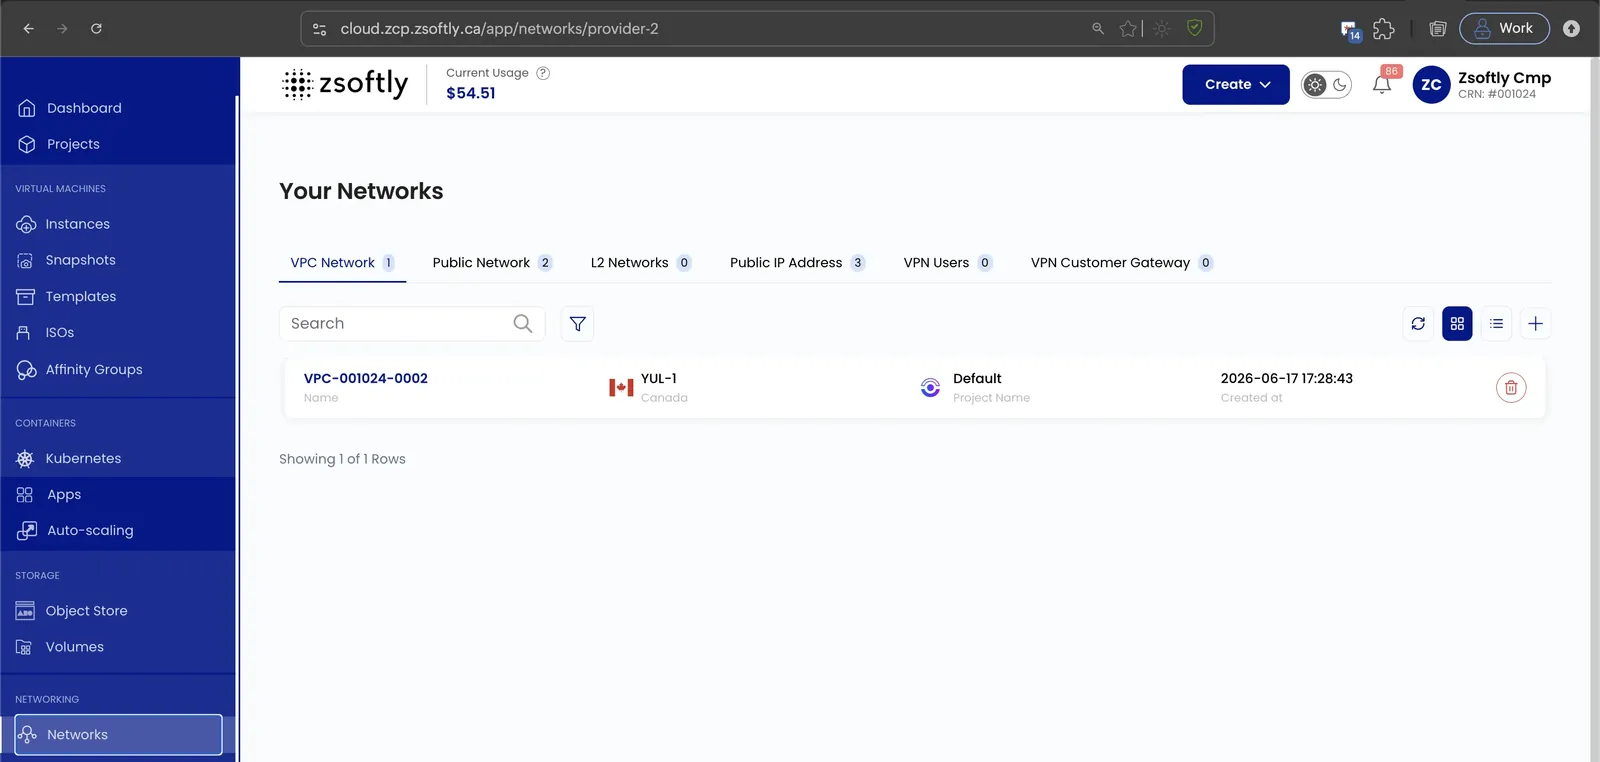
Section titled “Create a VPC”- From the left-hand menu, click Networks → VPC Network tab.
- Click the + icon to open the creation page.
Assign to a Project and choose a Location
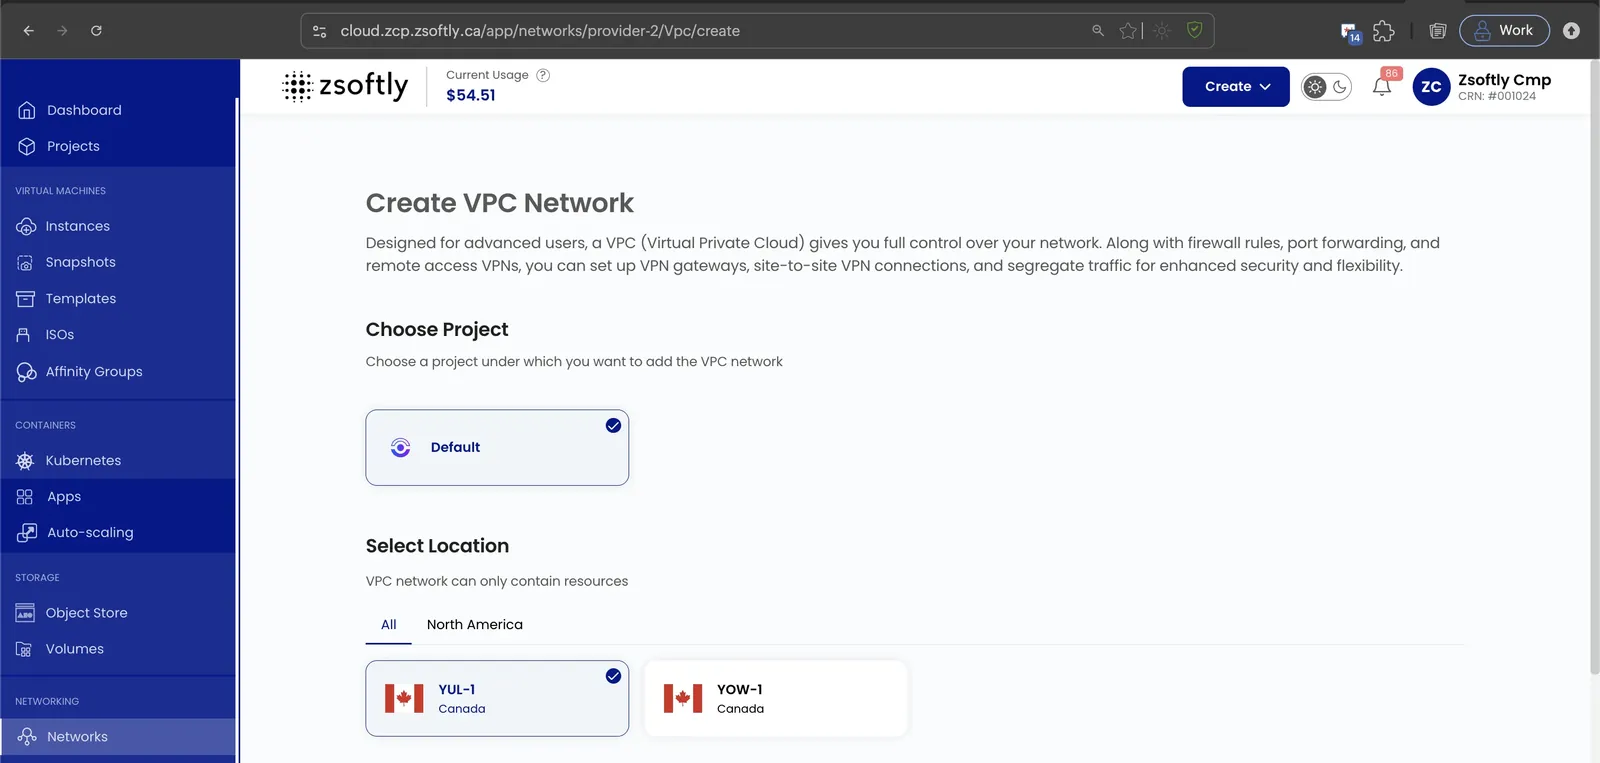
Section titled “Assign to a Project and choose a Location”- Under Choose Project, select the project the VPC belongs to.
- Under Select Location, pick the data center region (for example
YUL-1orYOW-1). A VPC and its resources live in a single region.
Network configuration and name
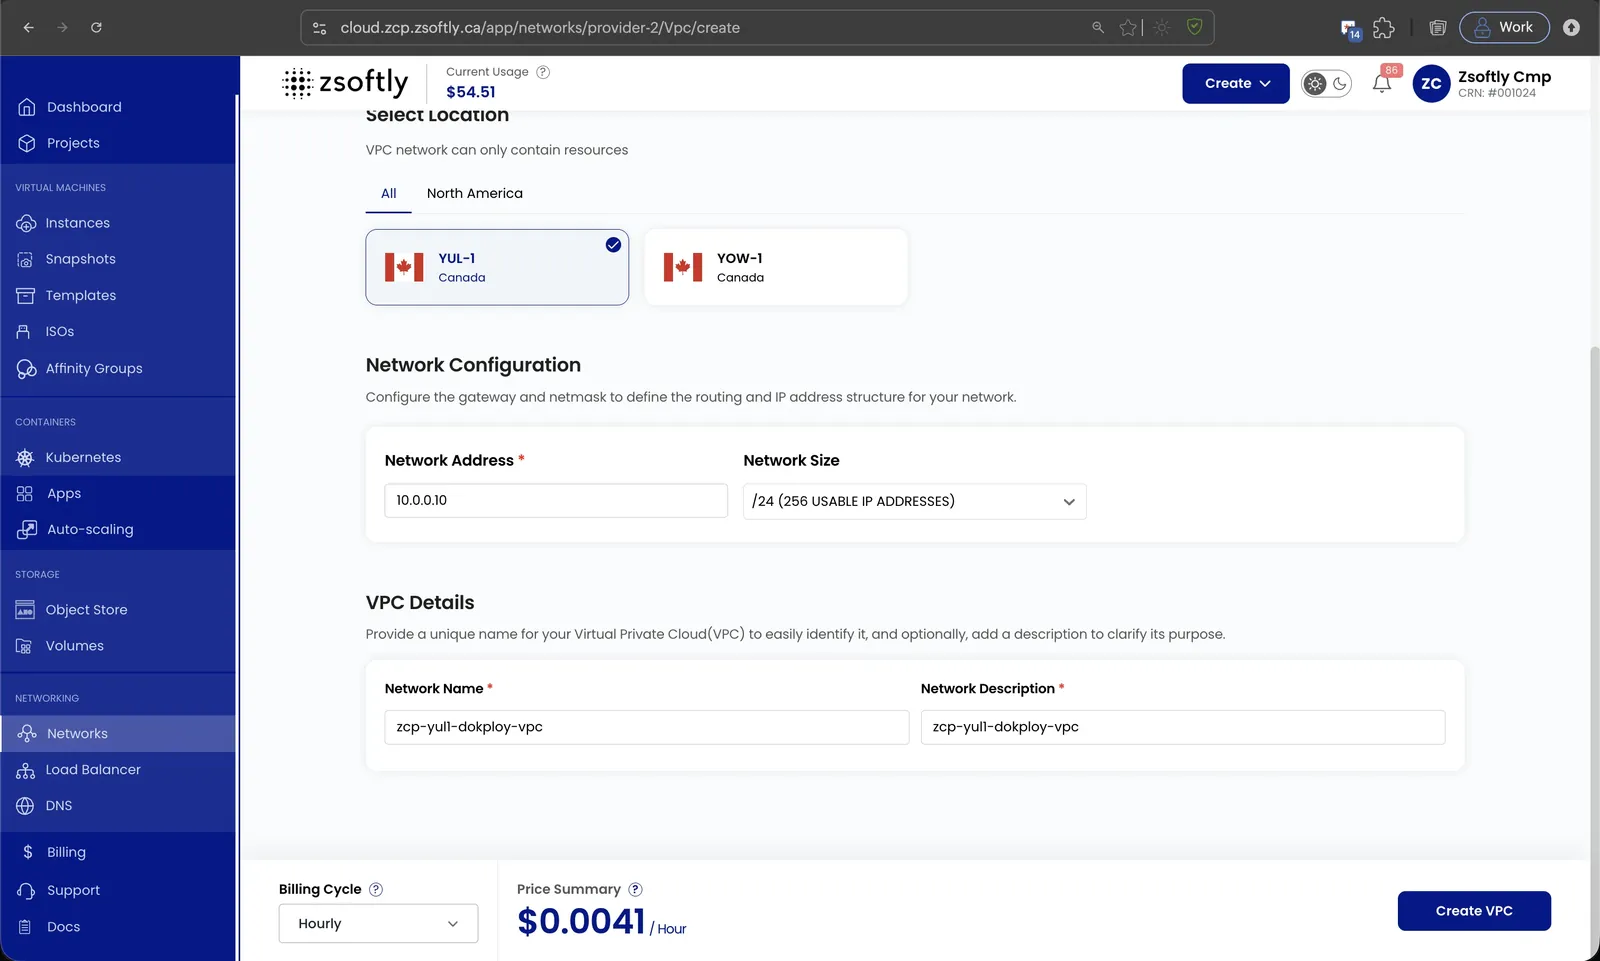
Section titled “Network configuration and name”- Network Address and Network Size: set the base address (for example
10.0.0.10) and the subnet size (for example/24, 254 usable IP addresses) that define the VPC’s IP range. - Network Name and Network Description: give the VPC a unique, identifiable name.
Create
Section titled “Create”- Billing Cycles supported: Hourly, Monthly, or Yearly.
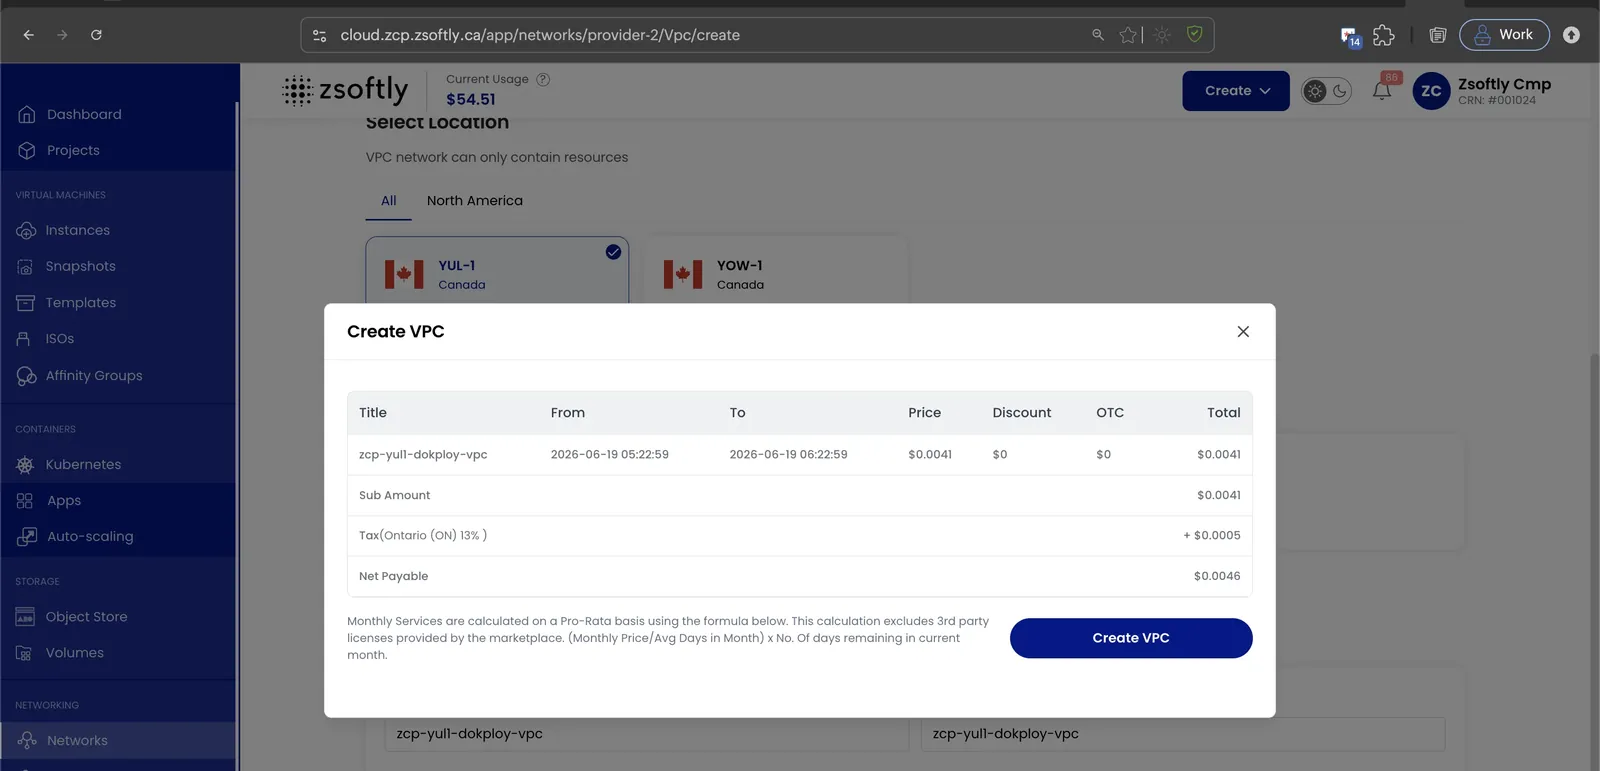
- Pick a Billing Cycle, review the Price Summary, and click Create VPC. A confirmation dialog shows the price breakdown (subtotal, tax, and net payable) before you confirm.
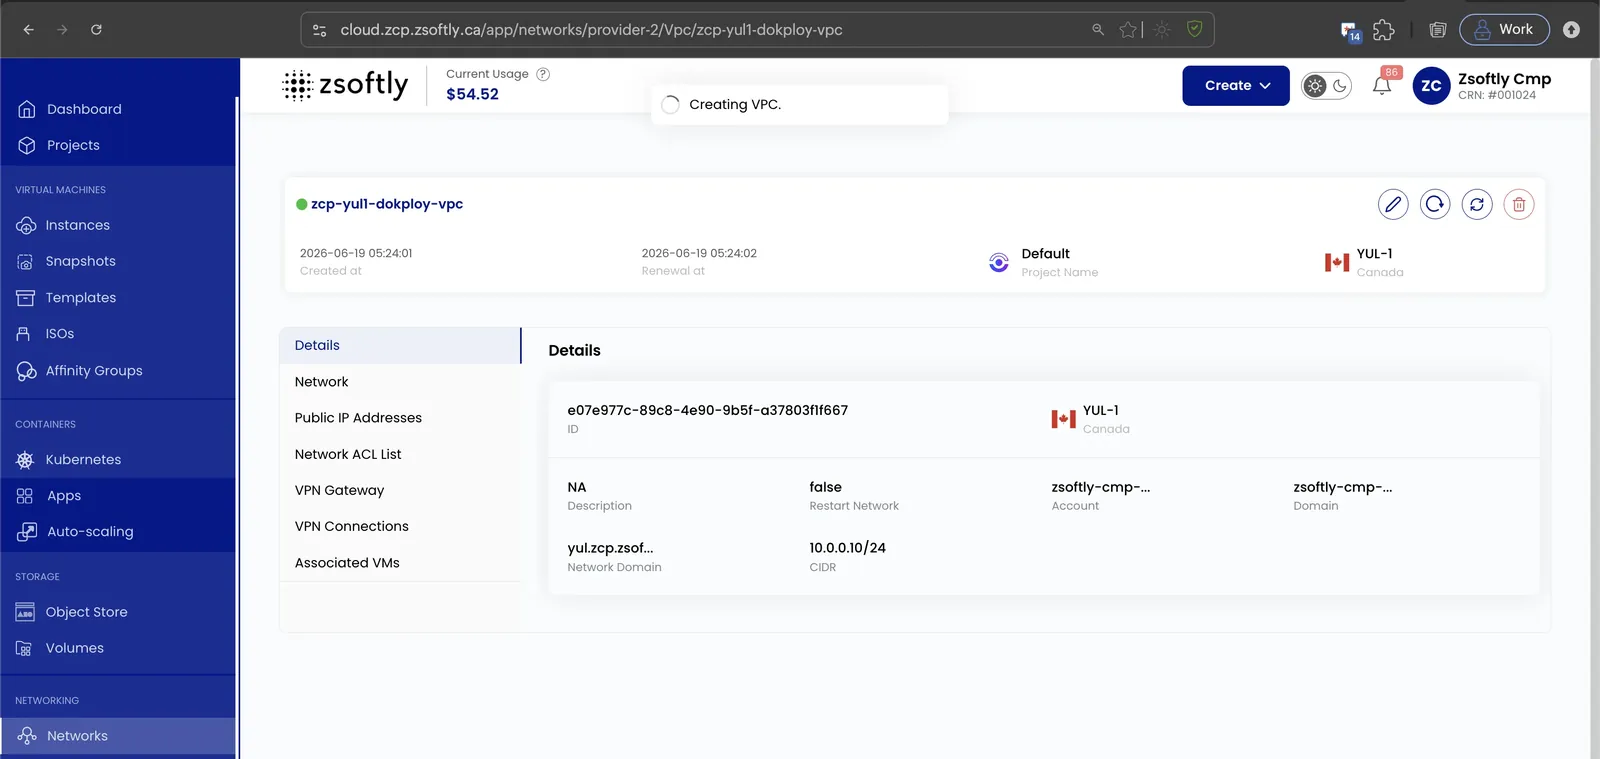
Once created, the VPC’s Details tab shows its ID, region, network domain, and CIDR.
See also: Add Subnet, Network ACLs, VPN Gateway