
Deploy OpenClaw from the Marketplace with the CLI
Ce contenu n’est pas encore disponible dans votre langue.
This tutorial takes you from a brand-new ZSoftly Public Cloud account to a running
OpenClaw instance, a self-hosted personal AI assistant that answers you
on the messaging channels you already use (WhatsApp, Telegram, Slack, Discord, and more). OpenClaw
ships as a Marketplace app, so it comes pre-installed on the image: you pick it as the template
and deploy. No manual install step. You do every step from your terminal with the zcp CLI.
By the end you have:
- An authenticated CLI on your machine
- A virtual machine with OpenClaw pre-installed, a public IP, and SSH access
- A path to configure the assistant and start chatting
Plan for about 10 minutes. Most of it is the VM booting.
Before you start
Section titled “Before you start”- A ZSoftly Public Cloud account. Sign up first if you do not have one.
- A terminal with an SSH client (Terminal on macOS or Linux, Windows Terminal or PowerShell on Windows).
- An SSH key pair. This tutorial creates one for you if you do not have it.
- For the configuration step at the end, an API key for a model provider (for example OpenAI or Anthropic). You can deploy and SSH in without one. You need it before the assistant can answer.
Step 1: Install the CLI
Section titled “Step 1: Install the CLI”The zcp CLI is a single binary. Install it with the one-line script.
# macOS and Linuxcurl -fsSL https://raw.githubusercontent.com/zsoftly/zcp-cli/main/scripts/install.sh | bash# Windows (PowerShell)irm https://raw.githubusercontent.com/zsoftly/zcp-cli/main/scripts/install.ps1 | iexConfirm it works with zcp version. For other install methods, see the
CLI installation guide.
Step 2: Authenticate
Section titled “Step 2: Authenticate”The CLI talks to the platform with a bearer token tied to your account.
- In the portal, open Profile → API Tokens and create a token. Copy it.
- Create a CLI profile and paste the token when prompted:
zcp profile add defaultYou are prompted for the Bearer token and the API URL (https://api.zcp.zsoftly.ca/api).
Then verify and let the CLI detect your cloud provider:
zcp auth validate
Step 3: Find the OpenClaw template
Section titled “Step 3: Find the OpenClaw template”OpenClaw is a Marketplace app, which is just a template with the image type Market Place App. List the templates for your region and filter for it:
zcp template list --region yow-1 | grep -i openclaw
Note the SLUG (for example zmi-openclaw-202668-ubuntu2404-100). The template slug differs by
region, so always take it from your own template list.
You also need a project, a plan, a network plan, and a storage category. List them the same way:
zcp project list # note the SLUG, e.g. default-9 (not just "default")zcp plan vm --region yow-1 # CPU/memory/price, e.g. ci1lzcp plan network --region yow-1 # e.g. pnet-yowzcp plan storage --region yow-1 # use a value from the STORAGE CATEGORY column, e.g. nvmeStep 4: Add your SSH key
Section titled “Step 4: Add your SSH key”The OpenClaw image uses key-based login, not a password. If you do not have a key, create one:
ssh-keygen -t ed25519 -C "you@example.com"Import the public key. --project and --region are required:
zcp ssh-key import \  --name my-key \  --key-file ~/.ssh/id_ed25519.pub \  --project default-9 \  --region yow-1
zcp ssh-key list
Step 5: Deploy OpenClaw
Section titled “Step 5: Deploy OpenClaw”Create the VM straight from the OpenClaw template. Because it is a Marketplace image, OpenClaw is
already installed. There is nothing to install over SSH afterward. --storage-category is required.
zcp instance create \ --name openclaw \ --project default-9 \ --region yow-1 \ --template zmi-openclaw-202668-ubuntu2404-100 \ --plan ci1l \ --billing-cycle hourly \ --network-type Isolated \ --network-plan pnet-yow \ --storage-category nvme \ --ssh-key my-key \ --wait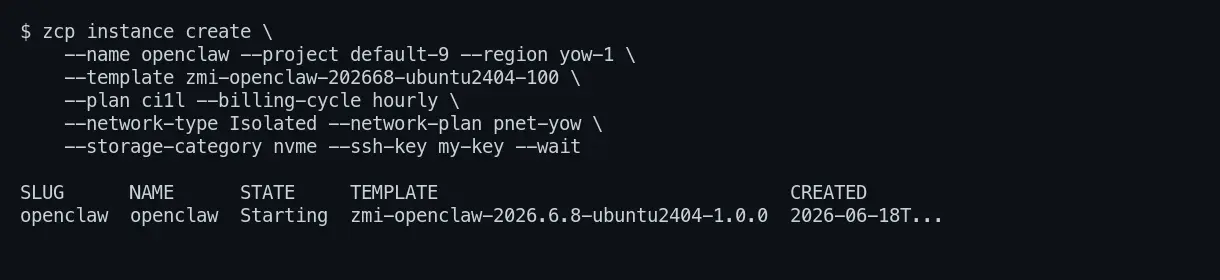
--wait blocks until the VM reaches Running, usually one to three minutes.
Step 6: Find the public IP and open SSH
Section titled “Step 6: Find the public IP and open SSH”Read the VM details for the login Username (the image logs in as ubuntu):
zcp instance get openclaw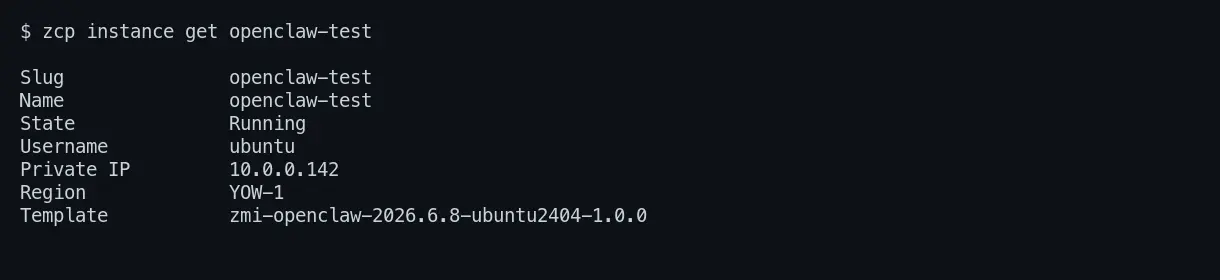
zcp ip list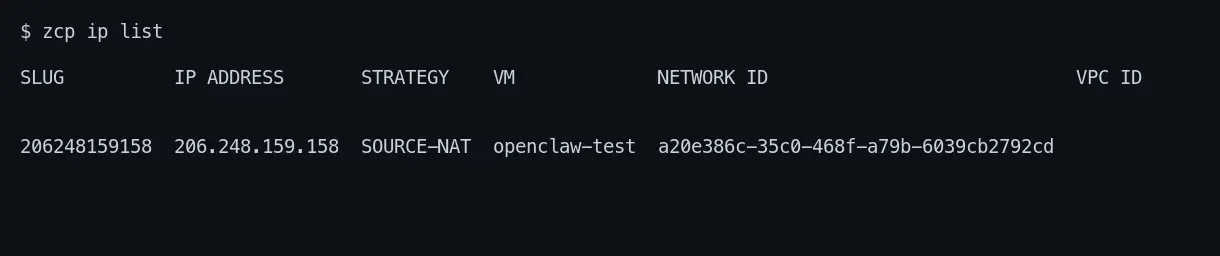
Note the IP ADDRESS and the SLUG of the row whose VM is openclaw. The source-NAT IP
gives the VM outbound internet. Inbound is blocked until you open it. Open SSH (port 22):
# Replace <ip-slug> with the SLUG from `zcp ip list`zcp firewall create --ip <ip-slug> --protocol tcp --cidr 0.0.0.0/0 --start-port 22 --end-port 22zcp portforward create --instance openclaw --ip <ip-slug> --protocol tcp \ --public-port 22 --public-end-port 22 --private-port 22 --private-end-port 22Step 7: Connect and confirm OpenClaw is installed
Section titled “Step 7: Connect and confirm OpenClaw is installed”ssh -i ~/.ssh/id_ed25519 ubuntu@<public-ip>openclaw --version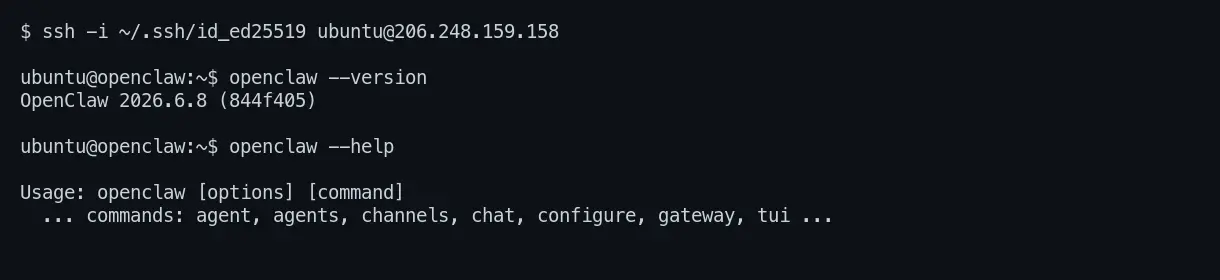
You are on the VM with OpenClaw ready to configure.
Step 8: Configure the assistant
Section titled “Step 8: Configure the assistant”OpenClaw ships a guided setup that walks you through credentials, your model provider, the gateway, and messaging channels. Run it on the VM:
openclaw configureWork through the prompts. At minimum add a model provider key so the assistant can answer. To talk to it right away in a terminal UI over your SSH session:
openclaw chatTo run the always-on gateway (the control plane that channels connect to), start it and choose a port and auth mode:
openclaw gateway --port 8080 --bind lan --auth tokenIf you expose the gateway to the internet, open that port the same way you opened 22 in Step 6,
and keep an auth mode set (never none on a public IP). OpenClaw’s own
docs cover channels (WhatsApp, Telegram, Slack,
Discord, and more), the web Canvas, and skills.
Clean up
Section titled “Clean up”Hourly billing runs while resources exist. Remove them when you are done. Deleting the VM also releases its source-NAT IP and the firewall and port-forward rules attached to it:
zcp instance delete openclawThe whole flow, start to finish (replace the example slugs with your own):
# 1. Authenticatezcp profile add defaultzcp auth validate
# 2. Find the OpenClaw template + your project/plan/storagezcp template list --region yow-1 | grep -i openclawzcp project listzcp plan vm --region yow-1 && zcp plan network --region yow-1 && zcp plan storage --region yow-1
# 3. Add your SSH key (project + region required)zcp ssh-key import --name my-key --key-file ~/.ssh/id_ed25519.pub \  --project default-9 --region yow-1
# 4. Deploy OpenClaw (pre-installed Marketplace image)zcp instance create \  --name openclaw --project default-9 --region yow-1 \  --template zmi-openclaw-202668-ubuntu2404-100 --plan ci1l --billing-cycle hourly \  --network-type Isolated --network-plan pnet-yow \  --storage-category nvme --ssh-key my-key --wait
# 5. Open SSH, connect, and configurezcp ip listzcp firewall create --ip <ip-slug> --protocol tcp --cidr 0.0.0.0/0 --start-port 22 --end-port 22zcp portforward create --instance openclaw --ip <ip-slug> --protocol tcp \  --public-port 22 --public-end-port 22 --private-port 22 --private-end-port 22ssh -i ~/.ssh/id_ed25519 ubuntu@<public-ip>openclaw configure && openclaw chat
Next steps
Section titled “Next steps”- Deploy a VPS with Dokploy (CLI): a from-scratch VPS where you install the software yourself
- CLI reference: every command and flag
- Connect via SSH: key management and troubleshooting
- Port forwarding: expose specific services
- OpenClaw documentation: configure channels, skills, and the gateway